
How to Bulk Rename Images with Aomark Suite
Where to Find It
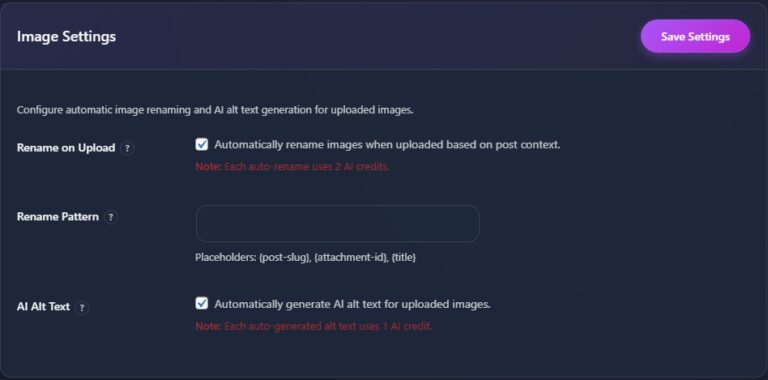
In your WordPress admin go to Aomark Suite > Tools and click the Images tab. Scroll past the Image Settings section and you’ll find the Bulk Image Renamer below it.
Understanding Your Library Stats
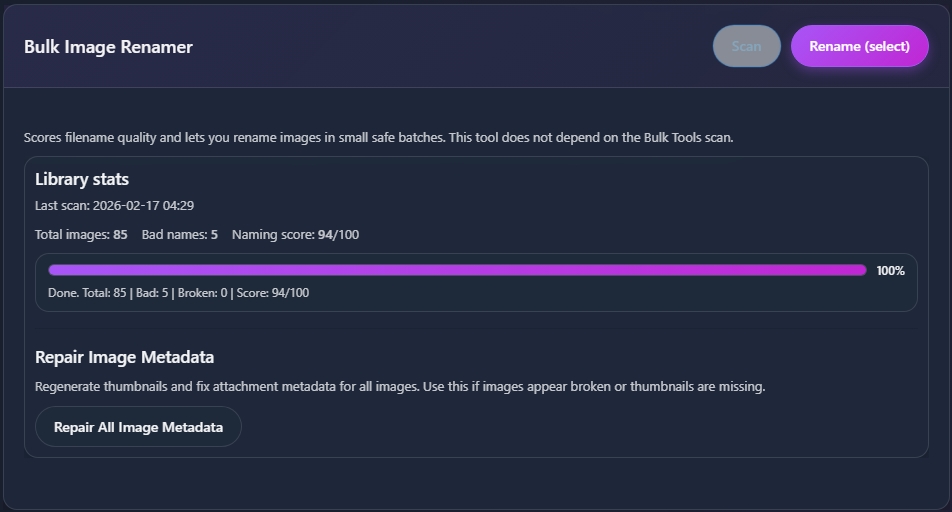
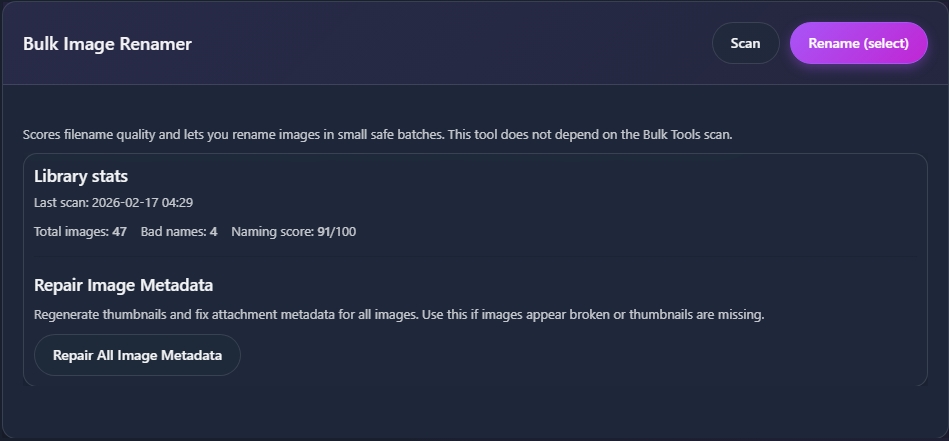
Before renaming anything, the Bulk Image Renamer shows you a quick snapshot of your media library. You’ll see total images, how many have bad names, and an overall naming score out of 100. This gives you a clear picture of how much work needs doing before you touch anything.

Scanning Your Library
Click Scan to analyze your media library. Aomark goes through your images and scores each filename for SEO quality, flagging anything that looks like a camera default, a random string, or otherwise unhelpful name.
Renaming in Batches
Once the scan is complete click Rename (select) to go through flagged images in small safe batches. Aomark presents them to you one batch at a time rather than renaming everything in one go, which gives you control and avoids any accidental mass changes you can’t easily undo.
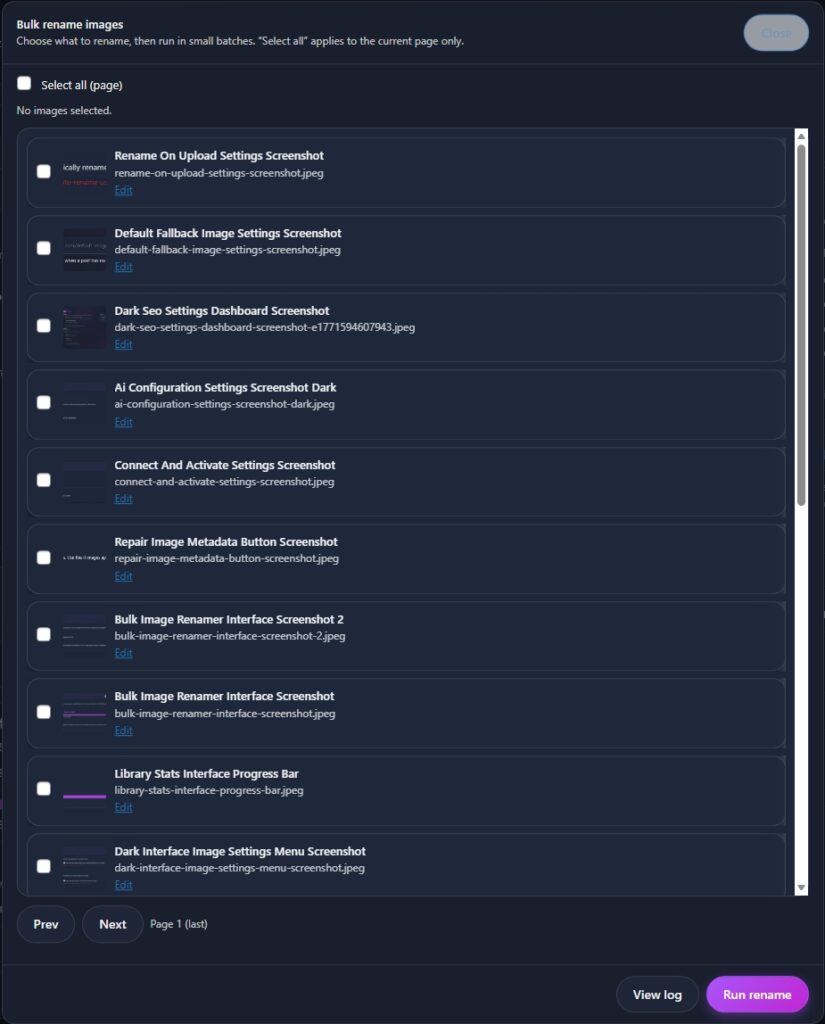
Review the suggested names for each batch, confirm the ones you want to apply, and move to the next batch. Work through them at your own pace.
Repairing Image Metadata
At the bottom of the section you’ll also find a Repair Image Metadata button. This regenerates thumbnails and fixes attachment metadata for all images. Use this if images appear broken, thumbnails are missing, or something looks off after a bulk rename.

Next Steps
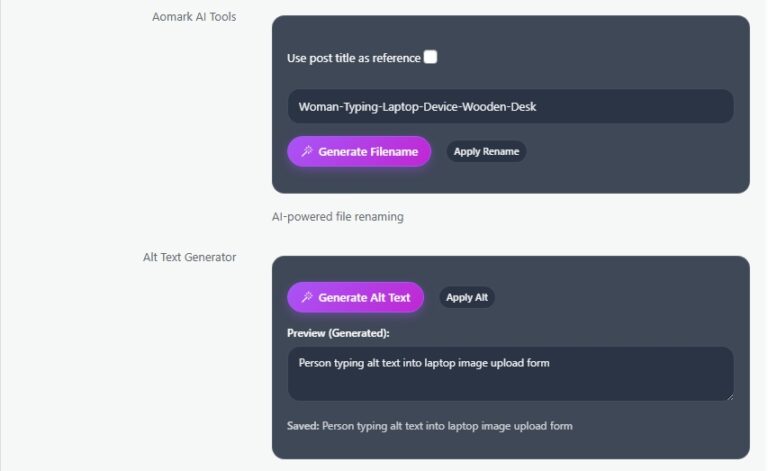
Bulk renaming handled. Next up is the Media modal, where you can rename individual images and generate alt text one at a time directly from your media library.