
How to Generate Schema Markup with Aomark Suite
Where to Find It
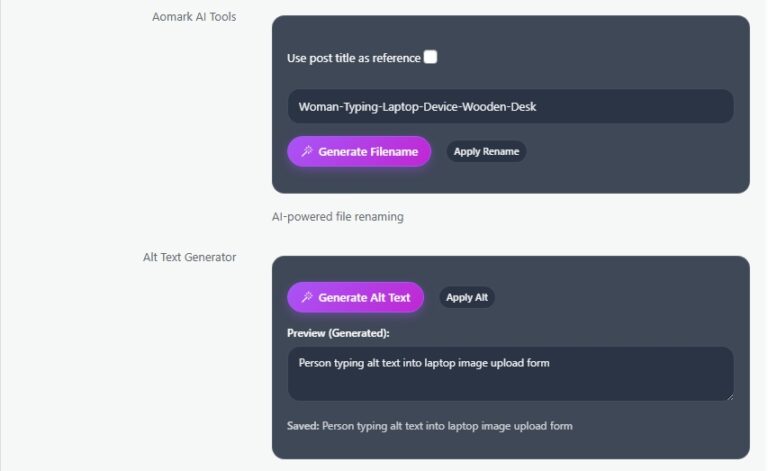
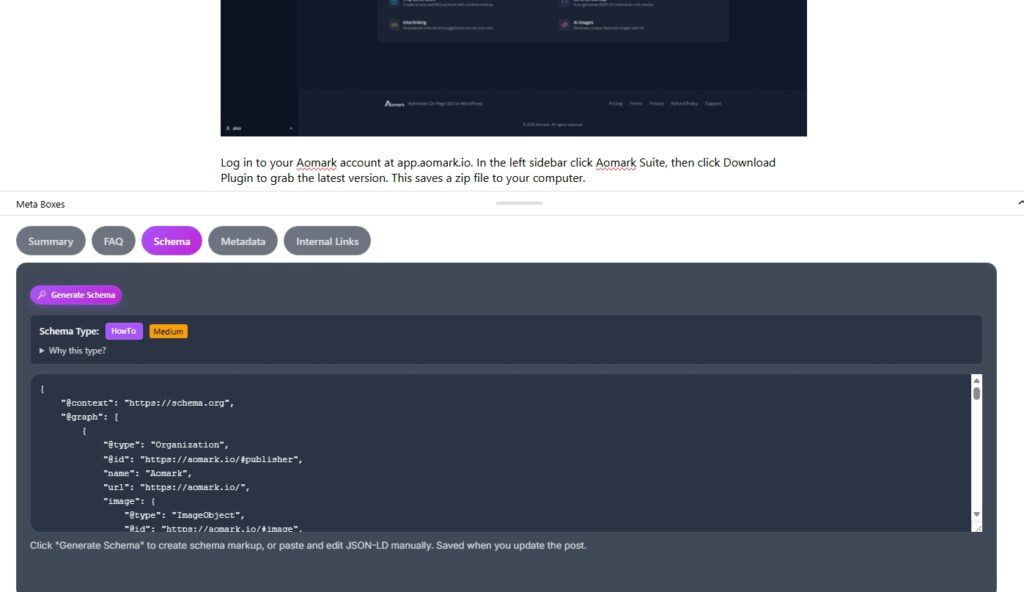
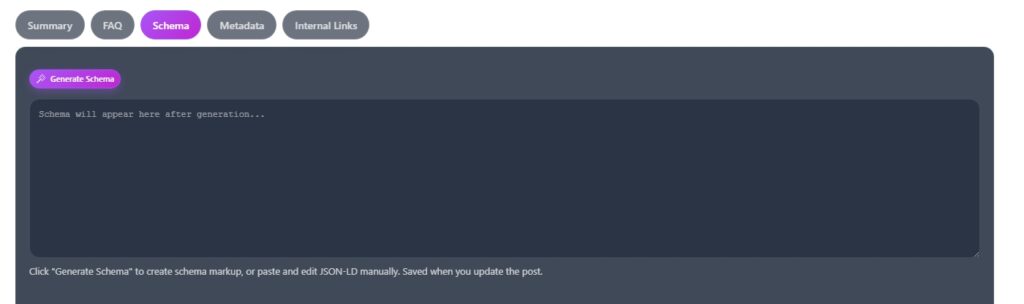
Open any post or page in your WordPress editor and scroll down to the Aomark Suite panel. Click the Schema tab.
Generating the Schema
Click Generate Schema. Aomark reads your post content, determines the most appropriate schema type, and generates the full JSON-LD markup automatically.
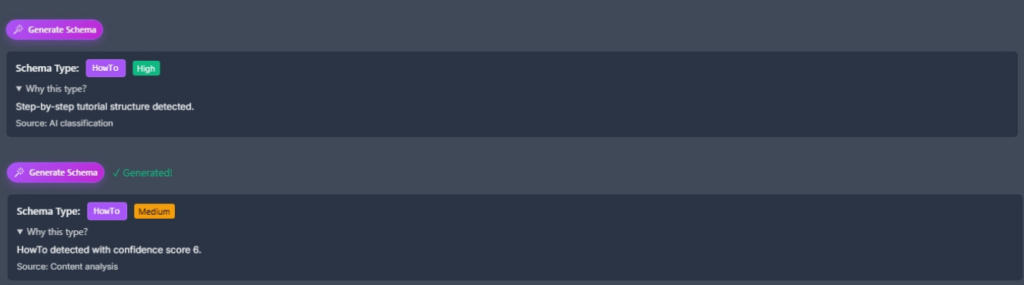
Once generated you’ll see two things at the top. The detected Schema Type, for example HowTo, Article, or FAQ, and a confidence badge showing how well it matches your content. There’s also a “Why this type?” toggle you can expand to understand why Aomark picked that particular schema type.
Reviewing and Editing the Schema
The JSON-LD code is fully editable directly in the panel. If you know your way around structured data you can tweak it manually. If not, the auto-generated version is ready to go as is.
The schema saves automatically when you update your post. No separate save button needed here.
Auto-Generated Schema
If you have auto-generate on publish enabled in Plugin Settings, schema gets created automatically when you publish, as long as no schema exists yet for that post. The manual tab is there for when you want to regenerate it or make adjustments.
A Note on Schema Conflicts
If you’re using Yoast, RankMath, or another SEO plugin that outputs schema, check whether you want both running. Aomark’s schema auto-inject can be turned off in Settings > Schema if you prefer to let another plugin handle it site-wide while still using the manual generator per post.
Next Steps
Schema done. Next up is generating your meta title and meta description, the two things that show up directly in Google search results.