
How to Install Aomark Suite and Connect to Your Aomark Account
What You’ll Need
Before you start, make sure you have an active Aomark account at app.aomark.io. The plugin is downloaded directly from your Aomark dashboard, so you’ll need to be logged in first. If you haven’t signed up yet, do that first and come back here.
Downloading the Plugin
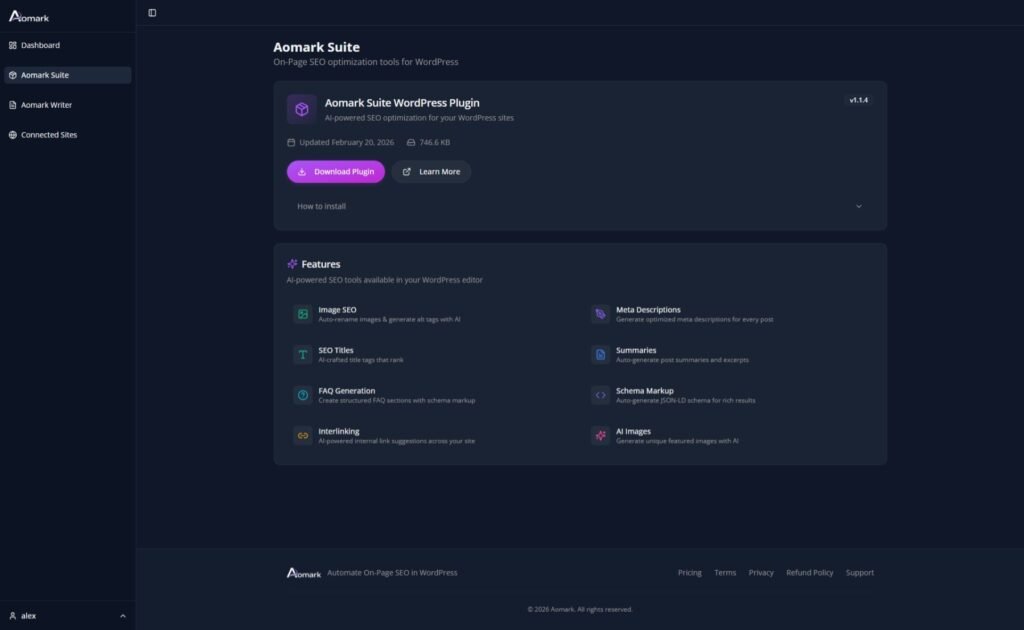
Log in to your Aomark account at app.aomark.io. In the left sidebar click Aomark Suite, then click Download Plugin to grab the latest version. This saves a zip file to your computer.
Installing the Plugin in WordPress
Go to your WordPress admin panel and navigate to Plugins > Add New Plugin. Click Upload Plugin at the top of the page, select the zip file you just downloaded, and click Install Now. Once installed, click Activate. Aomark Suite will appear in your left sidebar and the Setup Wizard will launch automatically.
Running the Setup Wizard
The Setup Wizard walks you through three quick steps and takes about a minute to complete.
Step 1 – Site type and industry. Select what kind of site this is (blog, online store, local business, etc.) and optionally add your industry. This helps the AI generate more relevant schema markup and content suggestions for your niche.
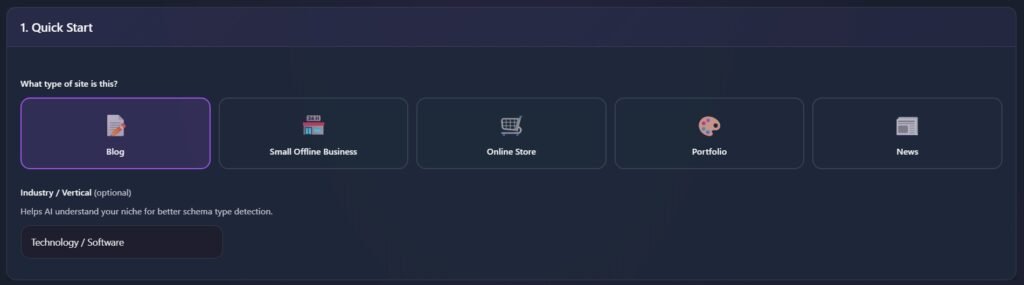
Step 2 – Essential info. Enter your organization name and website URL. These are used in your schema markup, so make sure they match exactly how you want your site represented in search results.
Step 3 – Connect and activate. Click Connect to link your WordPress site to your Aomark account. No tokens or API keys needed, just one click. When the status badge turns green and shows Connected, your site is linked and all AI features are active.
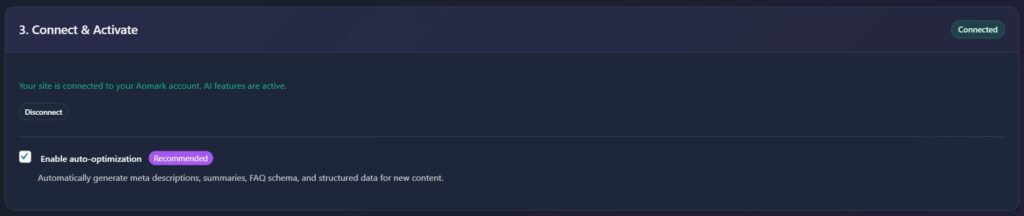
You’ll also see an option to enable auto-optimization here. When enabled, Aomark automatically generates meta descriptions, summaries, FAQs, and structured data whenever you publish new content. This is on by default and recommended to leave enabled.
Click Complete Setup to finish.
Checking Your Connection
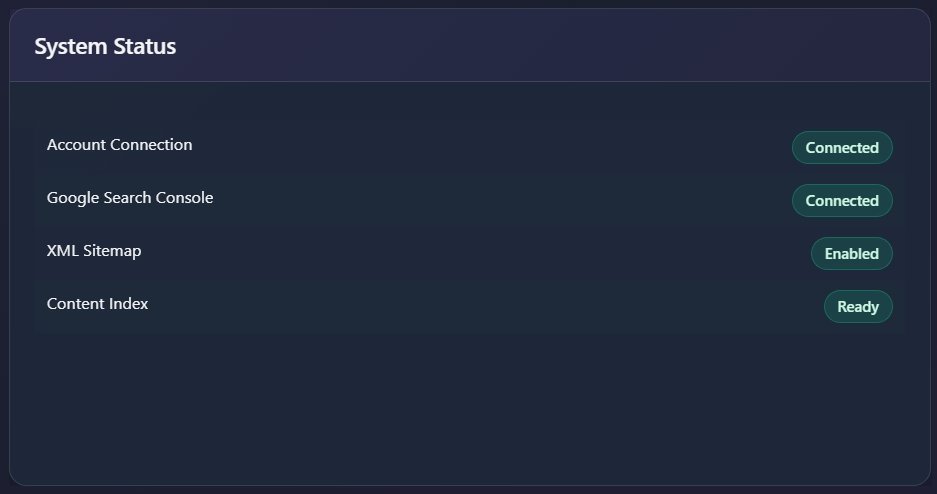
After setup you land on the Aomark Suite dashboard. The System Status panel shows you at a glance what’s active. You want to see Account Connection showing Connected and XML Sitemap showing Enabled. Google Search Console will only show Connected after you set that up separately, which is covered in its own tutorial.
The Site SEO Health score in the center updates naturally as you optimize your content. Nothing to do with it right now.
Re-running the Setup Wizard
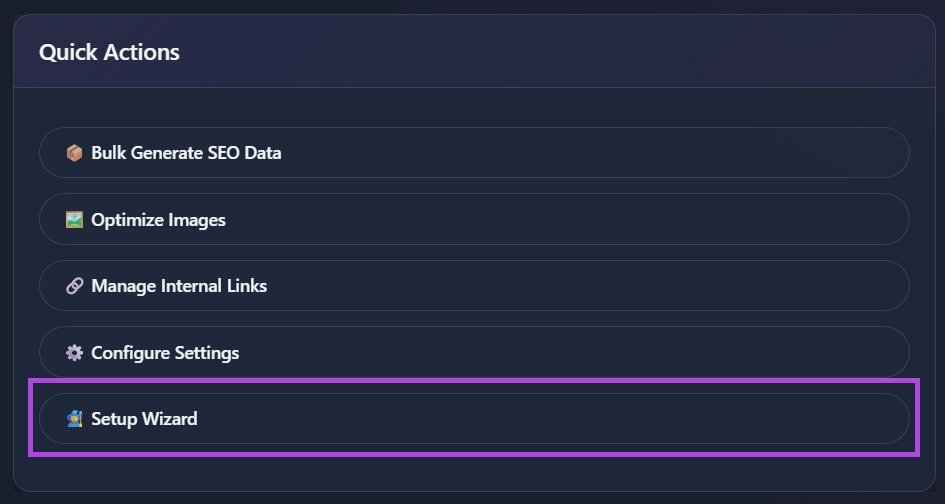
If you ever need to update your site details or reconnect your account, go to Settings in the Aomark Suite menu and click Re-run Setup Wizard in the right sidebar. It takes you through the same flow and saves over your previous settings.
Next Steps
Your site is connected and ready to go. A good next step is configuring your Plugin Settings to control how and where Aomark tools appear across your content.