
How to Set Up and Configure Your Sitemap in Aomark Suite
Where to Find It
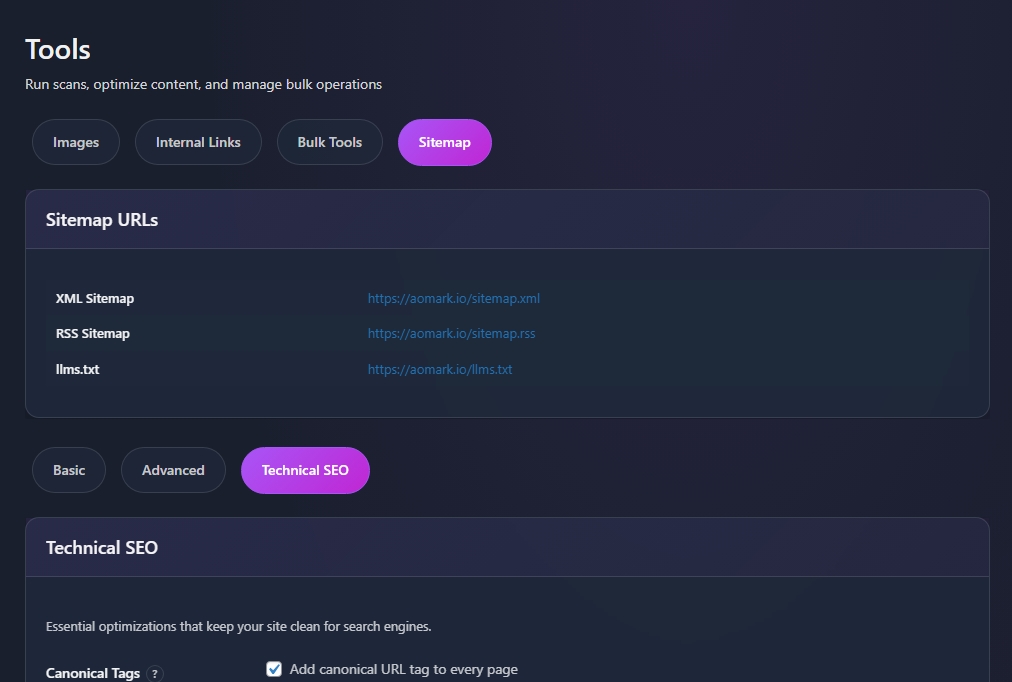
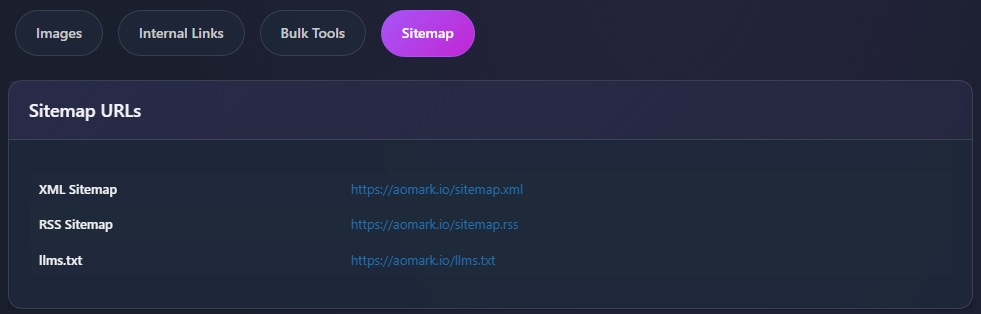
In your WordPress admin go to Aomark Suite > Tools and click the Sitemap tab. At the top you’ll see your three sitemap URLs, XML Sitemap, RSS Sitemap, and llms.txt, all generated dynamically by Aomark. No files are written to disk.
The settings below are split across three tabs: Basic, Advanced, and Technical SEO.
Basic Settings
Click the Basic tab. This is where you control what content gets included in your XML sitemap.
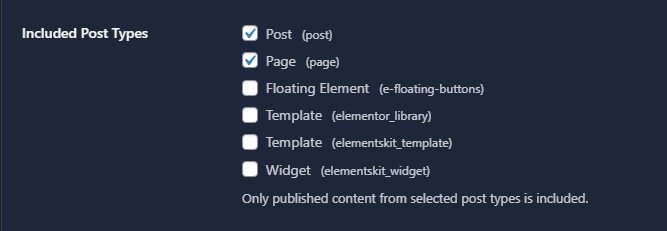
Enable XML Sitemap is on by default. Leave it enabled. Below that, Included Post Types lets you choose exactly which content types appear in your sitemap. Posts and Pages are checked by default. Only include content types that are genuinely indexable and valuable, there’s no benefit to including template files or widget post types.
Excluded Posts lets you search for and exclude specific posts or pages you don’t want in the sitemap, useful for thin content or pages you’re keeping off search engines.
Archive Pages and Taxonomies let you include or exclude author archives, date archives, categories, and tags. For most sites leave these unchecked, they tend to create duplicate content issues.
Click Save Settings when done.
Advanced Settings
Click the Advanced tab. This covers your RSS feed, llms.txt manifest, and GSC integration.
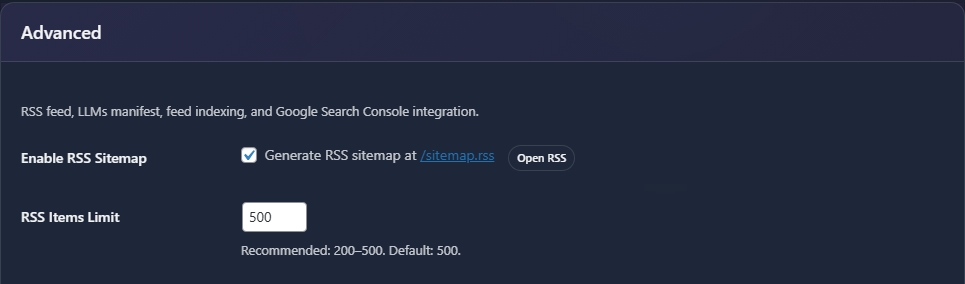
Enable RSS Sitemap generates a feed at /sitemap.rss. The RSS Items Limit defaults to 500 which is the recommended setting for most sites.
Enable llms.txt generates a manifest file at /llms.txt. This is a newer standard that helps AI language models understand and reference your site’s content accurately. Worth keeping enabled.
Noindex RSS Feeds adds a noindex tag to WordPress’s default RSS and Atom feeds to prevent them from appearing in search results as duplicate content. Leave this checked.
Google Search Console shows your current GSC connection status and gives you a Submit Sitemaps to Google Search Console button. Click this after any major content changes or when setting up a new site to make sure Google has your latest sitemap.
Click Save Settings when done.
Technical SEO Settings
Click the Technical SEO tab. These are set and forget settings that keep your site clean for search engines.
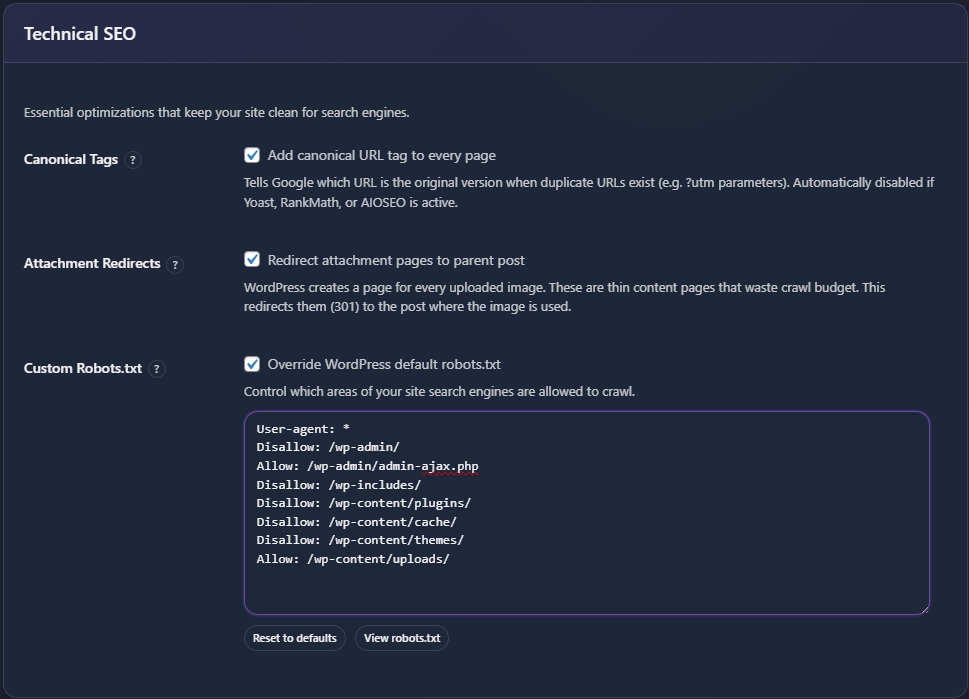
Canonical Tags adds a canonical URL tag to every page. This tells Google which URL is the original version when duplicate URLs exist, for example pages with UTM parameters. This is automatically disabled if Yoast, RankMath, or AIOSEO is detected to avoid conflicts.
Attachment Redirects redirects WordPress attachment pages back to the parent post. WordPress creates a thin page for every uploaded image and these waste crawl budget. Leave this enabled.
Custom Robots.txt lets you override WordPress’s default robots.txt file. The default Aomark configuration is sensible for most sites, blocking admin areas while allowing uploads and the sitemap. Edit only if you have specific crawl requirements.
Click Save Settings when done.