
How to Set Up Automatic Image Renaming and Alt Text in Aomark Suite
Where to Find It
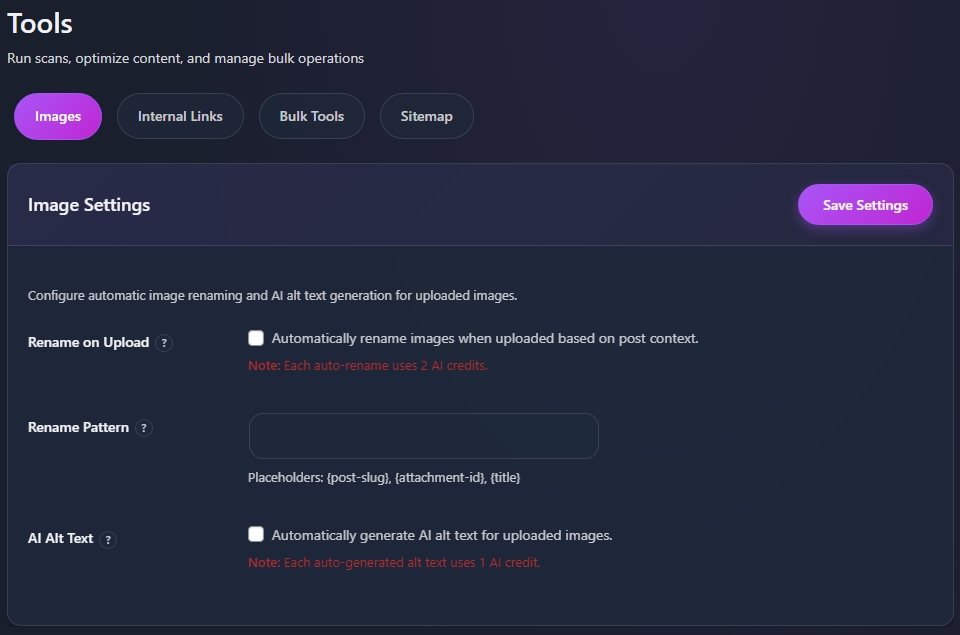
In your WordPress admin go to Aomark Suite > Tools. You’ll land on the Images tab by default. The top section is Image Settings, this is where you control what happens automatically every time you upload an image.
Rename on Upload
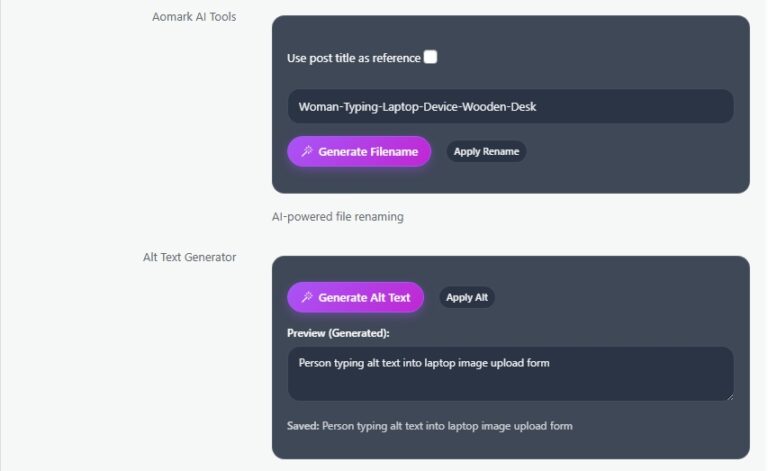
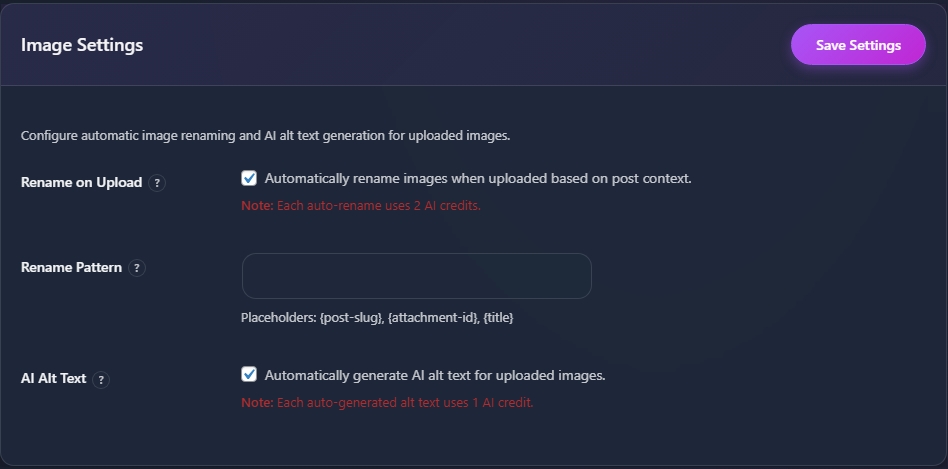
The first toggle is Rename on Upload. When enabled, every image you upload gets automatically renamed based on the context of the post it’s being uploaded to. This keeps your media library clean and ensures your image filenames are descriptive and SEO friendly rather than whatever your camera or phone named them.

Note that each automatic rename uses 2 AI credits. If you’re on a limited credit plan keep that in mind, though for most users the SEO benefit is well worth it.
Rename Pattern
Below the toggle you’ll see a Rename Pattern field. This lets you customize how renamed files are structured using placeholders. The available placeholders are {post-slug}, {attachment-id}, and {title}.

Leave this blank to use the default naming pattern, which works well for most sites. If you have a specific naming convention you want to follow, build it here using the placeholders.
AI Alt Text on Upload
The second toggle is AI Alt Text. When enabled, Aomark automatically generates descriptive alt text for every image you upload using AI. This saves a significant amount of time on content heavy sites and ensures no image ever gets published without alt text.

Each auto-generated alt text uses 1 AI credit. Again, worth it for the time saved and the SEO and accessibility benefits.
Saving Your Settings
Once you’ve configured both toggles and the rename pattern, click Save Settings. From this point on every image you upload will be processed automatically according to your preferences.
Next Steps
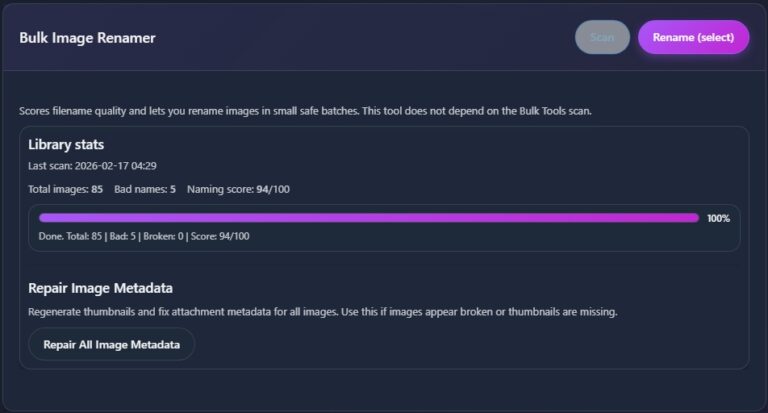
With automatic processing set up, the next tutorial covers the Bulk Image Renamer, which lets you go back and clean up images that were uploaded before these settings were enabled.