
Renaming images is one of those WordPress tasks that feels simple until you realize filenames are tied to attachment URLs, image sizes, and places you have already embedded the file. If you are trying to learn how to rename an image in WordPress, the key is understanding what you can safely rename inside the dashboard versus what requires replacing the file or using a plugin to update references. This guide walks through the safest workflows, when plugins make sense, how bulk renaming works, and the SEO basics that help keep your Media Library clean without creating broken image links.
Best for: Site owners who want cleaner filenames for organization and image SEO without breaking existing embedded images.
Not ideal when: The image is widely shared externally, cached heavily, or served from a CDN you do not control.
Good first step if: You can rename the file locally, re-upload, and replace it where it is used in posts and pages.
Call a pro if: You use offloaded media, a CDN, or need bulk changes on a live site with many internal links.
Quick Summary
- WordPress lets you edit an image’s media title and alt text without changing the actual image filename.
- Changing the real filename usually changes the attachment URL, so existing embeds can stop working.
- The safest no-plugin workflow is to rename locally, upload again, then replace the old image in content.
- Media renaming plugins can update filenames and URLs while rewriting references across the site.
- Bulk rename is useful for cleanup, but you should back up and validate thumbnails and generated image sizes.
Can You Rename an Image File in WordPress After Upload?
Yes, but WordPress has no built-in one-click tool to rename the actual file on disk. The Media Library mainly stores an attachment record pointing to a file in the uploads folder. If you change the real filename, the URL usually changes, and anything still using the old URL can break.
Decide whether you mean renaming labels (safe) or the file itself (riskier). For real renames, use a re-upload-and-replace workflow or a renaming plugin.
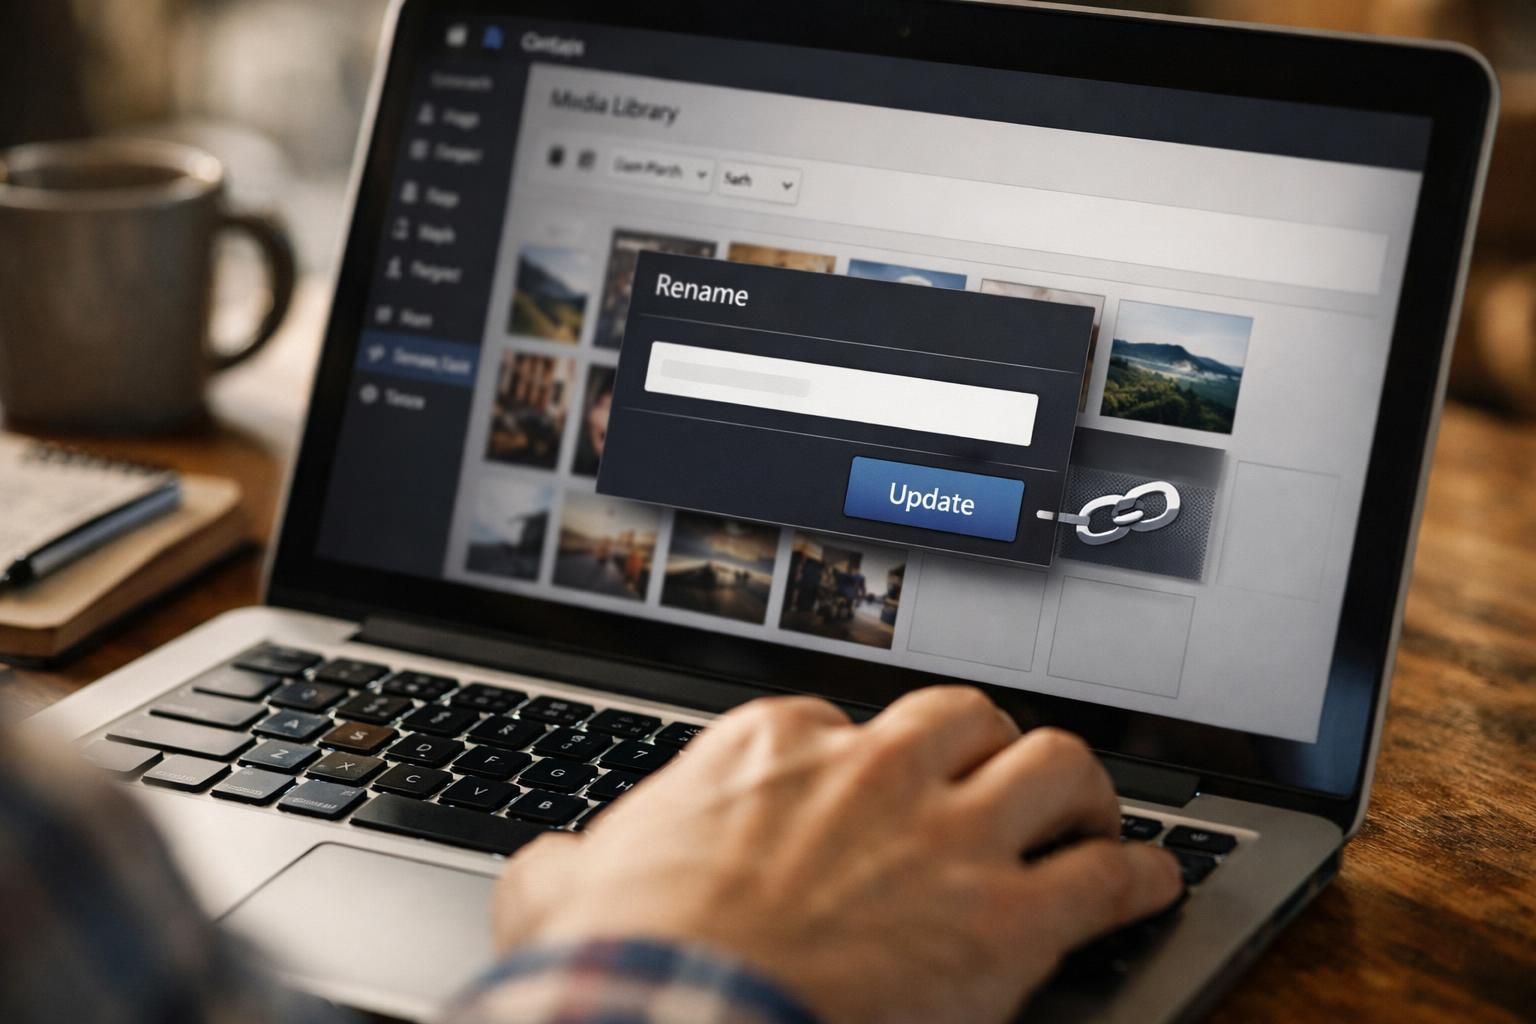
Media “Title” vs Actual Filename (URL)
The Media “Title” is just metadata and does not change the image filename, attachment URL, or where the file sits in the uploads folder. You can edit it by opening the attachment edit screen from Media Library and updating the title field, which can help internal organization.
The actual filename is the physical file stored on your server, and it is part of the attachment URL that WordPress inserts into content. Changing this filename can also affect generated variants such as thumbnails and other image sizes, so it is not the same as editing the media title or the slug.
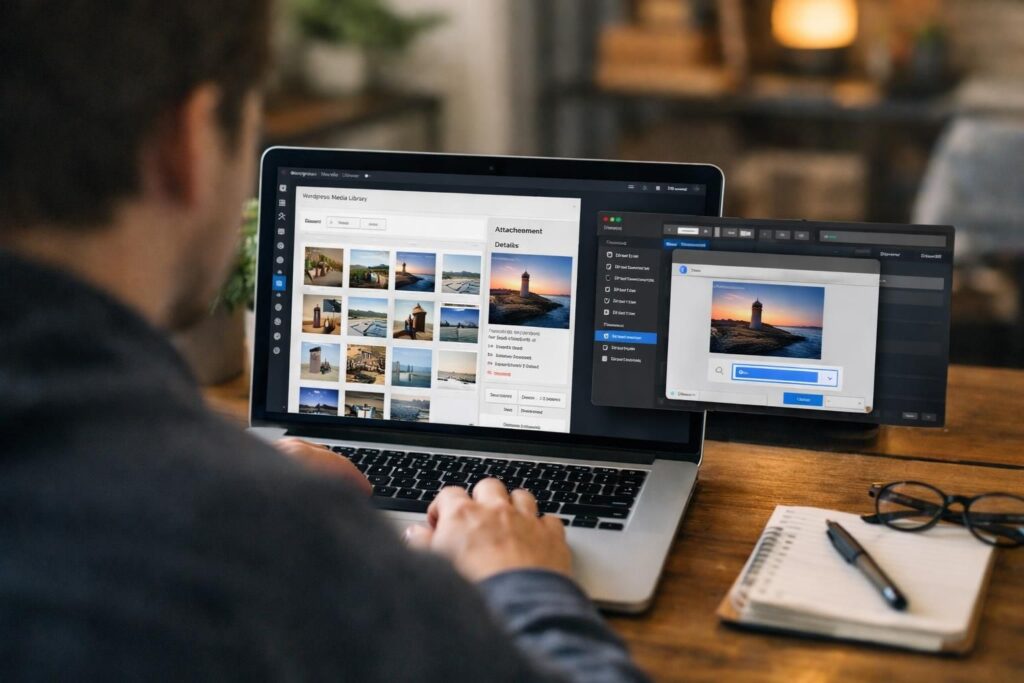
The Safest Method (No Plugin): Rename, Re-upload, and Replace
The safest no-plugin option is to rename the file on your computer, upload it as a new image, then replace the old image everywhere it appears, as outlined in the tutorial on renaming images. This avoids broken URLs across posts, pages, and widgets, because the old file remains intact until you swap it out. It is slower, but predictable for a small number of images.
Download the original, rename it using your convention, upload to the Media Library, then update each page or block using the old image. For similar workflows, see step-by-step tutorials.
Steps for Gutenberg + Classic Editor
In Gutenberg, remove the existing Image block (or select it and replace it) and insert the newly uploaded image, then confirm the link settings if you were linking to the media file. Also re-check the alt text and caption, since those do not always carry over if you insert a fresh attachment.
In the Classic Editor, click the image, use the edit/replace options if available, or delete and re-insert from Add Media. If the old image was used in multiple places, use search tools carefully, because content may reference the attachment URL directly rather than the attachment ID.

Rename an Image in WordPress With a Plugin (Updates URLs Automatically)
A media renaming plugin is the simplest way to change an image’s real filename and have WordPress update the attachment URL and references. A good plugin rewrites the file path, updates the media record, and fixes links in posts and pages, enhancing image filename SEO and reducing broken images. This approach is best for bulk cleanup or when you cannot edit every post.
Typical steps: install the plugin, open it from the Media Library, run a single or bulk rename, then spot-check key pages. Some plugins can rename on upload using titles or slugs. See practical writing resources for workflow help.
What to Look for in a Renaming Plugin
A good plugin should clearly state whether it renames the physical file, updates the attachment URL, and searches your database for old URLs to replace. It should also handle special characters, accents/diacritics, and whitespace reliably so filenames remain web-safe.
Look for safeguards such as a preview, undo capability, logs or a changelog, and compatibility with common setups like different image sizes and regenerated thumbnails. If you use offloaded media or a CDN, confirm it supports that, as outlined in the best practices for media library image folders on WordPress SEO, because the file may not live only on your WordPress server.
Bulk Renaming Images in the Media Library
Bulk renaming works best with a plugin that supports batch runs and naming rules, since manual changes often miss embedded references. Start with a full backup, run a small test batch, then proceed sitewide after verifying pages. Common patterns include lowercase names, hyphens instead of spaces, and titles based on the media or parent post.
Before running, note where images appear: posts/pages, templates, CSS backgrounds, and direct links. Account for “-scaled” originals and multiple sizes, and regenerate thumbnails if needed. See WordPress organization guides.
SEO Best Practices for Image Filenames
Use filenames that are descriptive, consistent, and readable, not camera defaults. A clear name supports image SEO with alt text and page context, and keeps shared URLs clean. Avoid keyword stuffing; choose a short phrase that matches the image and the page topic.
In WordPress, filenames become part of the attachment URL, so naming before upload is ideal. If you rename later, use a stable convention and apply it consistently. Also set alt text, a useful media title, and captions when relevant.
File Naming Rules (Hyphens, Lowercase, Keywords)
Use short, descriptive words separated by hyphens, and keep everything in lowercase. Avoid underscores, excessive length, and random numbers unless they add meaning. Remove special characters and accents/diacritics, since they can create inconsistent URLs across browsers and systems.
A practical checklist:
- Use hyphens between words
- Prefer lowercase filenames
- Keep 3 to 8 words when it helps clarity
- Include one relevant keyword naturally, not a list
- Avoid “final-final-2” style versioning in public filenames
Common Issues and Fixes
Most failures happen when the image URL changes but references do not. If you rename via FTP or a file manager, WordPress may still point to the old path, causing missing images. When troubleshooting, check whether the attachment URL changed and whether old URLs remain in post content.
Start small: open the attachment edit screen, confirm the file URL, then inspect the image source on a page where it should appear. If the HTML still contains the old URL, update content, run a careful database search/replace, or use a plugin that updates references. See more helpful blog posts for maintenance guidance.
404s, Cached Images, Thumbnails (-Scaled), CDN/offloaded Media
A 404 after renaming usually means a page, theme file, or database entry still points to the old URL. Clear plugin, server, and CDN caches, then retest in a private window.
If thumbnails or “-scaled” files break, regenerate thumbnails so variants match the current filename. With CDN or offloaded media, renames may not sync to remote storage; treat it as an integration issue and involve a developer or hosting support if syncing fails.
Conclusion
The safest way to handle image renames is to treat filenames as part of the URL and plan changes carefully, especially when images are embedded across multiple pages. For small cleanups, renaming locally and replacing the image is predictable; for larger libraries, a purpose-built plugin can automate updates and reduce breakage. If you follow clear naming rules and set filenames before upload, you will spend less time fixing links later, and how to rename an image file name in WordPress becomes the exception rather than the routine.