


If you’re figuring out how to create a sitemap on WordPress, you’re already thinking like a technical SEO. A sitemap won’t fix thin content or poor internal links. But it does help search engines find your important URLs faster. It also gives you a clean place to spot indexing issues. In this guide, you’ll check whether you already have a WordPress XML sitemap. You’ll then choose between core sitemaps or an SEO plugin. And you’ll submit the right file to Google Search Console. We’ll also cover common errors like “sitemap could not be read WordPress,” 404s, duplicates, and sitemaps that won’t update.
Best for: Site owners who want reliable crawling signals and quick visibility into what URLs search engines should discover.
Not ideal when: Your site blocks indexing with noindex, robots.txt rules, or password protection that prevents crawlers from accessing URLs.
Good first step if: You want to confirm your current sitemap location and validate what WordPress is already publishing.
Call a pro if: You see persistent Search Console errors, mass duplicate URLs, or you suspect plugin conflicts and rewrite issues.
Quick Summary
- WordPress often publishes a core sitemap at wp-sitemap.xml, even without plugins.
- An XML sitemap helps crawling and indexing, but it doesn’t guarantee rankings.
- SEO plugins give you better control over included content types and sitemap indexes.
- Submit the sitemap index in Google Search Console when you have multiple sitemap files.
- Most “sitemap not found” issues come from permalinks, caching, or conflicting plugins.
What a Sitemap is (and Why it Matters for SEO)
A sitemap is a structured list of URLs you want search engines to crawl and potentially index. It’s basically a map for a search engine crawler (bot). It points crawlers to your canonical URLs and helps them discover new pages. It also helps them re-crawl updated content more predictably. That matters most on larger sites or sites with weak internal linking.

A sitemap is not a guarantee of indexing. It won’t override noindex tags or blocked paths in robots.txt. It also won’t fix broken status codes. If your sitemap lists URLs returning 404 or 301 chains, you’re sending mixed signals.
For example, if you publish a new landing page that isn’t linked in navigation yet, a sitemap helps discovery. Google can still find it by links later. But the sitemap reduces waiting and guesswork.
A sitemap also gives you a diagnostic surface. In Google Search Console, you can see errors, discovered URLs, and coverage gaps. That’s often where you first notice parameter duplicates or category archives you didn’t mean to surface.
XML Vs. HTML Sitemaps
An XML sitemap is built for search engines, not humans. It follows a standard format and uses UTF-8 encoding. It can include metadata like lastmod, depending on the generator. You’ll usually submit this file in Search Console.
An HTML sitemap is a human-facing page with links. It helps users navigate and can support internal linking. But it’s not a replacement for an XML sitemap.
For instance, a local service site might add an HTML sitemap in the footer. That helps users find “Areas served” pages fast. Meanwhile, the XML sitemap stays focused on indexable URLs for crawlers.
So what does this mean in practice? Use XML for crawling and indexing workflows. Use HTML when navigation needs help.
Check if Your WordPress Site Already Has a Sitemap
Most modern WordPress installs already output a sitemap, so check before adding a plugin. Visit your site in a browser and try common paths like /wp-sitemap.xml and /sitemap_index.xml. If you see an XML page listing multiple files, that is typically a sitemap index.
Also check /robots.txt for a Sitemap directive. Many SEO plugins add it, but its absence does not prove you lack a sitemap.
After you find it, scan what it contains. Look for URLs you would rather exclude, such as tag archives, author archives, or internal search pages. If those appear, you will likely want plugin controls.
For deeper discovery auditing, pair this with an internal review like internal link health scan.
Common Sitemap URLs (Wp-sitemap.xml, Sitemap.xml, Sitemap_index.xml)
The most common WordPress sitemap location is /wp-sitemap.xml. That’s the WordPress core sitemap feature. It’s available on many sites without any SEO plugin.
You’ll also see /sitemap.xml on some setups. That path is often used by standalone sitemap plugins. Some hosts and platforms also standardize on it.
And then there’s /sitemap_index.xml. That’s a sitemap index file, common with Yoast SEO and other tools. It lists multiple sitemap files split by content type. For example, posts, pages, and categories may each get their own file.
For instance, an ecommerce site might have separate product and category sitemaps. The index ties them together. That’s easier to maintain than one huge file.
If none of these load, don’t panic yet. Jump to troubleshooting after you check permalinks and plugin overlap.
Method 1 — Use WordPress Core Sitemaps (No Plugin)
WordPress core can generate a basic XML sitemap automatically, which is often enough for small sites. It is usually available at /wp-sitemap.xml and outputs a sitemap index with separate sitemaps for posts, pages, categories, and tags, helping avoid per-file URL limits.
Core sitemaps are low-maintenance. They update as you publish or delete content and add no plugin overhead, which keeps your stack lean.
They do have limits. Core offers fewer controls for excluding content types and does not provide specialized image or video sitemaps out of the box. You can extend it with custom code, but changes in functions.php are riskier. If you customize, test on staging and document updates for theme changes.
Where to Find it and When Core is “Enough”
Core sitemaps live at /wp-sitemap.xml on your site’s root. If that URL loads, you can submit it directly to Search Console. You can also submit the index it exposes, if present.
Core is “enough” when you meet three conditions. You have a small set of indexable URLs. You don’t need fine-grained include and exclude logic. And you aren’t dealing with lots of duplicate archives.
For instance, if your blog uses only categories and not tags, core may still list tag archives. That can be harmless. But it can also create low-value indexed pages. That’s when you outgrow core.
Now, if you need to exclude author archives, handle WooCommerce types, or add external sitemap references, switch to a plugin. You’ll save time and avoid fragile code.
Method 2 — Create a Sitemap With an SEO Plugin (Recommended)
An SEO plugin is usually the cleanest way to create an XML sitemap you can control. You still get an XML sitemap, but you also get settings to include or exclude specific content such as posts, pages, categories, tags, and custom post types. Many plugins also let you remove date archives and author archives.
Most SEO plugins output a sitemap index by default, which helps when you have lots of URLs. It keeps you under common limits like 50,000 URLs per sitemap and roughly 50MB uncompressed per file.
Plugins can also improve consistency. Many add the sitemap to robots.txt and align sitemap entries with canonical rules, reducing the chance your sitemap lists non-canonical URLs.
If you already use an SEO suite, check whether it includes sitemap controls, such as a sitemap configuration tutorial.
Yoast, Rank Math, and All in One SEO: What Changes Vs. Core
Yoast SEO, Rank Math, and All in One SEO all generate sitemap indexes with more controls than core. The big change is exclusion rules. You can usually remove entire taxonomies, specific posts, or media attachments. Some also support external sitemap sources.
They also tend to handle edge cases better. Think pagination URLs, attachment pages, and custom post types. You can align sitemap output with your indexing rules. That prevents “included in sitemap but noindexed” contradictions.
For instance, if you noindex tag archives, you should also exclude them from the sitemap. A plugin makes that a toggle. With core, you’d need custom code.
Now, don’t install two SEO plugins at once. That’s a fast path to duplicates. You might end up with /wp-sitemap.xml and /sitemap_index.xml both submitted. Pick one system and stick to it.
How to Submit Your Sitemap to Google Search Console
Submitting a sitemap in Google Search Console confirms Google can fetch it and gives you error reporting. First verify the property (Domain or URL-prefix), using the one that matches your setup.
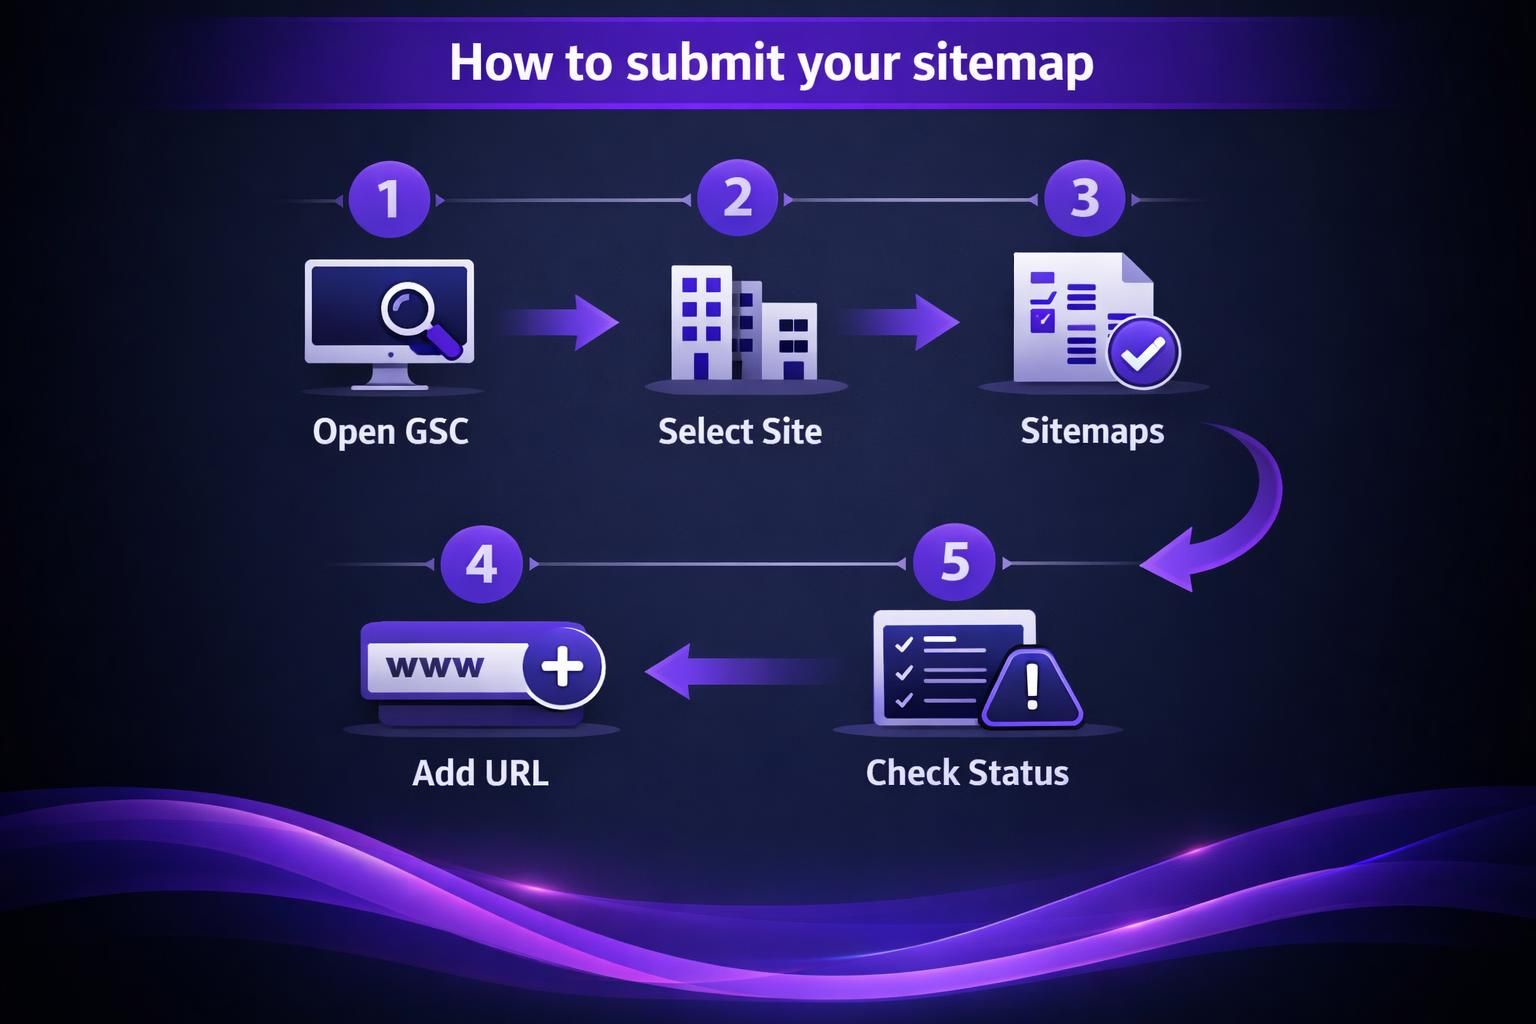
In Search Console, open Sitemaps, enter the sitemap path (not the full URL), and submit. Google will fetch it and show a status. If it fails with messages like “Couldn’t fetch” or “Sitemap could not be read,” check the sitemap URL for redirects, 404s, or blocked access.
Redirects from http to https are usually fine, but long redirect chains can cause fetch failures. Fix canonical domain and redirect rules so the sitemap resolves cleanly.
If Bing matters, submit the same sitemap in Bing Webmaster Tools. If you are integrating tools, follow connect Search Console properly.
What to Submit (Sitemap Index Vs. Single Sitemap) and How to Verify
Submit the sitemap index whenever you have one, because it covers everything in one place. If you submit a single sitemap file, you might miss other content types. That’s common on sites with separate post and page sitemaps.
Verification is simple but often skipped. First, open the sitemap URL in your browser. Confirm it loads and shows XML. Second, check that it lists the right canonical URLs. Third, use Search Console’s status and last read time.
For instance, if you changed permalinks yesterday, confirm the sitemap now lists the new URL structure. Then use URL inspection / sitemap URL check on one listed URL. Make sure it’s indexable and returns a 200.
If Search Console shows “Success” but zero discovered URLs, look for empty sitemaps. That can happen if everything is set to noindex. It can also happen if your plugin exclusions are too aggressive.
Troubleshooting: Sitemap Missing, 404s, Duplicates, or Not Updating
Most sitemap issues come from rewrites, caching, or multiple generators. If the sitemap is missing or 404s, confirm the site resolves on the correct canonical domain, then resave permalinks to refresh rewrite rules.
If Search Console says the sitemap could not be read, treat it as access first. Verify the sitemap URL returns 200 for logged-out users, then check whether a security plugin blocks XML requests or a CDN serves a cached error page.
Duplicates usually happen when you run more than one sitemap system. WordPress core may publish wp-sitemap.xml while an SEO plugin publishes sitemap_index.xml, and tools like Jetpack can add another. Pick one source of truth and submit only that set.
If the sitemap is not updating, purge server and plugin caches, then confirm new content types are not excluded.
Permalinks, Caching, and Plugin Conflicts
Permalink issues are the number one cause of sitemap 404s. Go to Settings, then Permalinks, and click Save. Don’t change anything unless you mean it. Then re-test the sitemap.
Caching issues show up as old URLs lingering in the sitemap. Purge your page cache and object cache if you use one. Also clear any CDN cache for the sitemap path.
Plugin conflicts often show up as duplicate sitemap URLs or broken XML formatting. Disable extra sitemap plugin tools first. Then retest. If you’re using custom code in functions.php, comment it out temporarily.
For instance, a custom code snippet that filters sitemap entries can accidentally remove all URLs. That leads to an empty sitemap file. Re-enable the snippet only after you confirm your baseline works.
If you need to edit lots of SEO settings, do it methodically. Change one thing and recheck Search Console. And if you’re juggling publishing workflows, a bulk workflow like use bulk tools safely can reduce random changes.
Sitemap Best Practices for WordPress Sites
A good sitemap includes only clean, indexable, canonical URLs that return 200 status codes. Exclude junk like internal search URLs, parameter-filtered pages, and duplicate archives you do not want indexed.
Match the sitemap to your indexing strategy. If something is noindex, it should not be listed. If it is listed, it should be indexable. Mixed signals make Search Console issues harder to diagnose.
Common exclusions include author archives (often thin) and tag archives on smaller blogs (often near-duplicates). If your content relies heavily on media, consider specialized sitemaps such as image, video, or news formats.
Watch size limits. If you approach 50,000 URLs, use a sitemap index rather than one massive file. Keep the sitemap URL stable, ideally at the site root, and reference it in robots.txt if possible.
Conclusion
If you’re learning how to create a sitemap on WordPress, start by checking what you already have at wp-sitemap.xml or a plugin sitemap index. Then pick one generator and stick with it. Submit the right sitemap to Google Search Console. Verify it loads, lists canonical URLs, and updates after publishing. If errors pop up, focus on permalinks, caching, and duplicate generators first. Once your sitemap is stable, it becomes a reliable tool for crawlability checks and ongoing indexing hygiene.