

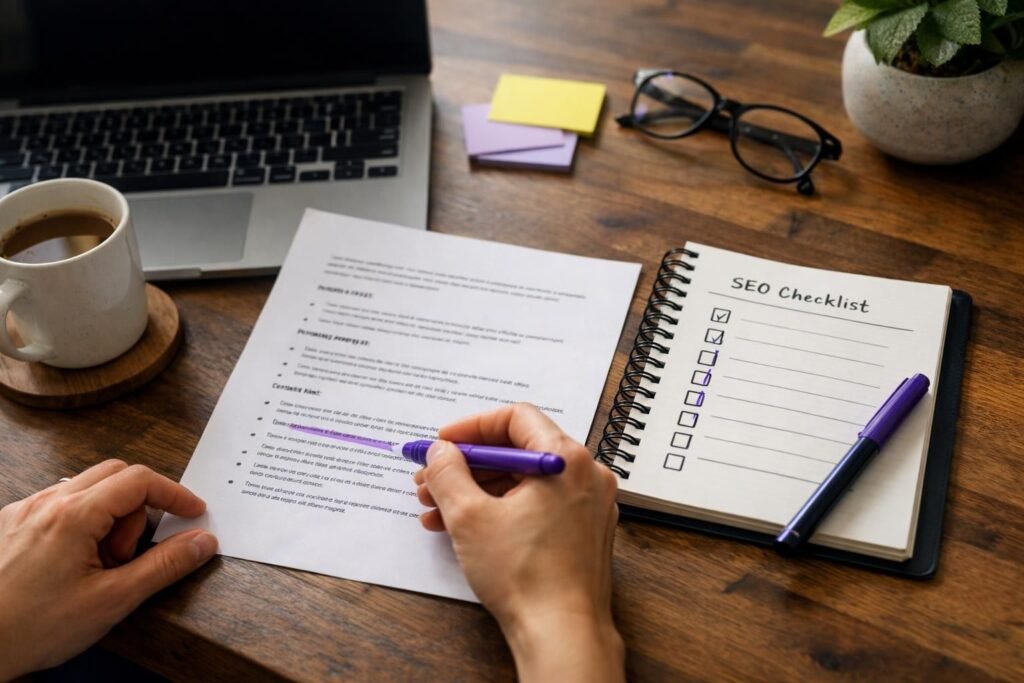
Publishing without a process is how good posts stay invisible. A solid seo checklist for blog posts keeps you focused on what actually moves rankings. It also prevents the small mistakes that tank click through rate. You’ll use it before you write, while you draft, and right after you publish. And you’ll spend less time guessing why a post didn’t perform.
This guide is built for people who already write decent content. You’ll find practical checks for intent, structure, on-page signals, internal links, media, and schema. For example, you’ll learn how to spot a keyword that looks right but has the wrong intent. You’ll also get a full copy paste checklist at the end.
Best for: Writers and editors who publish regularly and want consistent on-page quality without missing key SEO steps.
Not ideal when: You’re dealing with crawling, indexing, or site speed issues that block performance beyond the page.
Good first step if: You want a repeatable workflow that ties intent, headings, media, and internal links to measurable outcomes.
Call a pro if: Rankings stall across many pages, or you suspect technical problems like indexing gaps or template issues.
Quick Summary
- Match the keyword to intent before you outline, or you’ll fight the SERP forever.
- Build a clean H1 to H2 structure that mirrors the reader’s decision path.
- Write for humans first, but make on-page signals obvious to search engines.
- Use titles and meta descriptions to earn the click, not to repeat the page.
- Add internal links with purpose, and check they’re actually relevant.
- Do final QA after publishing so the live page matches your draft.
Why You Need an SEO Checklist
An SEO checklist prevents small omissions that quietly limit rankings and clicks. When you publish often, you will forget steps. It is rarely the big things. It is the missing internal link, the vague title tag, or the uncompressed hero image.
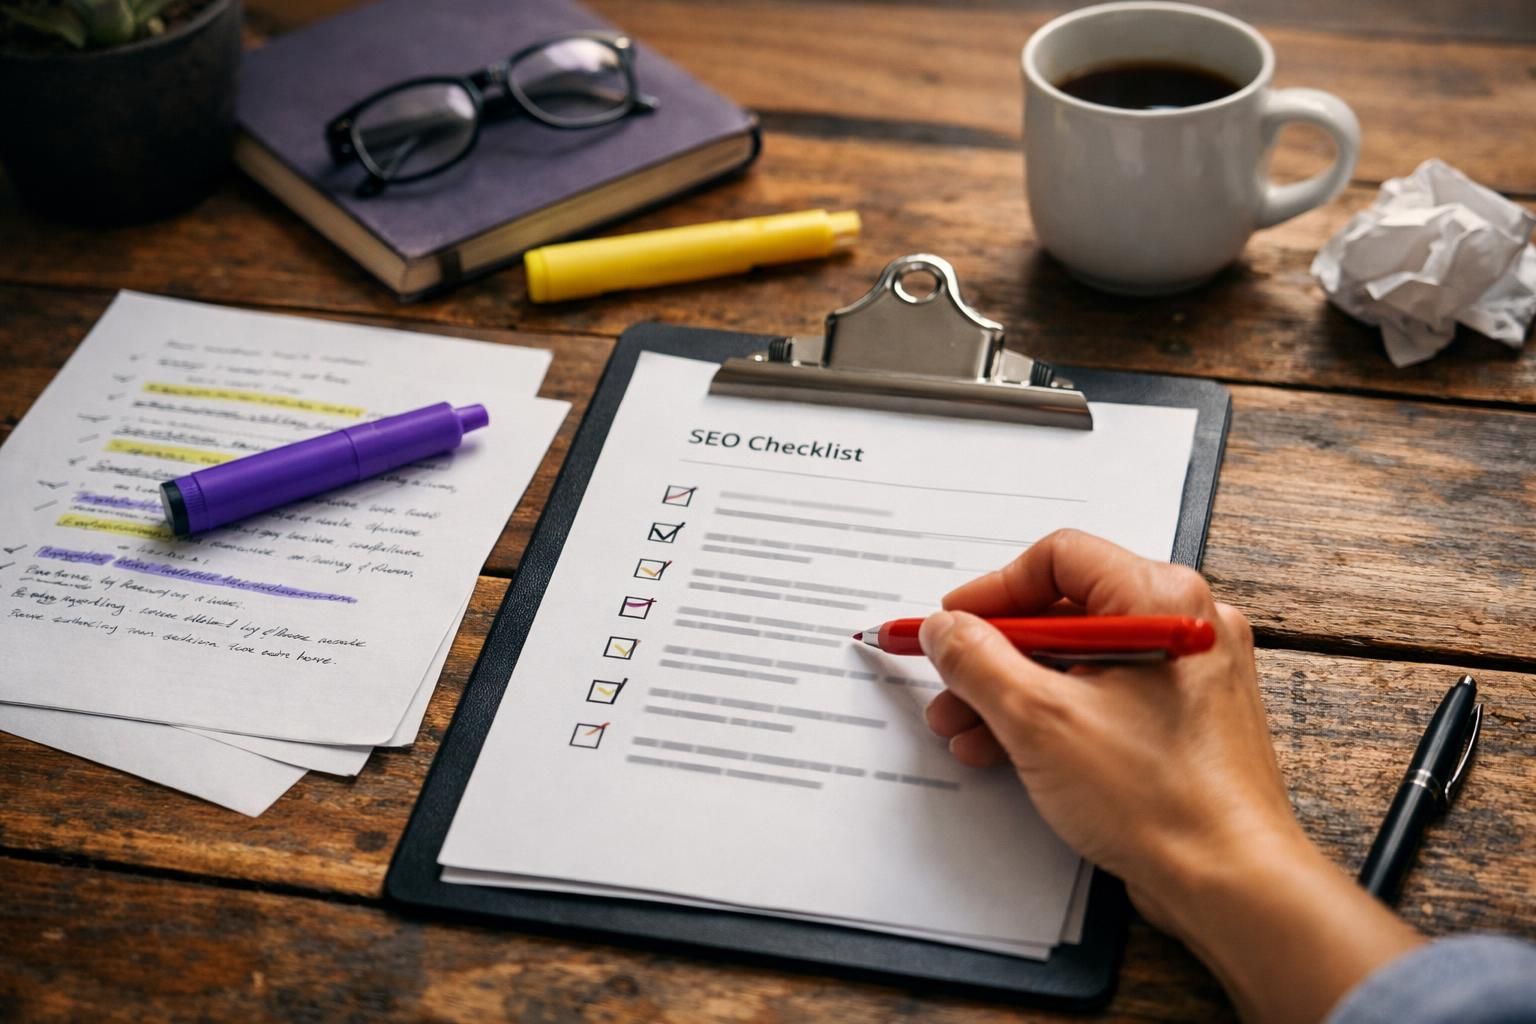
A checklist also makes performance easier to diagnose. When every post follows the same process, you can compare outcomes and spot patterns. You will know whether the topic choice, intent match, on-page execution, or distribution was the issue. Without consistency, you end up chasing random tweaks that do not generalize.
Two posts can be equally well written. One ranks because it matches intent and earns strong internal links. The other stalls because the title is generic and the first heading is unclear.
A good checklist protects you from:
- Targeting a keyword with the wrong search intent
- Thin sections that do not answer the main question fast enough
- Sloppy heading structure that confuses readers and crawlers
- Missing internal links that leave the page isolated
- Image bloat that slows load and hurts engagement
- Publishing without a quick live-page QA pass
It is not only for beginners. It turns SEO into quality control, not a last-minute add-on.
Before You Write: Keyword and Intent
Pick a primary keyword only after confirming search intent matches your planned post. Intent determines whether you can compete. If the SERP rewards templates and your content is an essay, you’ll struggle.
Scan page-one results and note patterns in format and audience. Are top pages checklists, guides, or tool pages? Are they for beginners or practitioners? Choose an angle that adds real value without fighting the dominant format. If results emphasize “before publishing” checks, include final QA steps. If they focus on on-page basics, cover headings, links, and media.
Then tighten your keyword plan. Use one primary keyword and a short list of secondary phrases that share the same intent. Secondary terms should appear naturally; they don’t need separate sections.
Pre-write workflow:
- Review first-page results to confirm intent
- List common subtopics and gaps you can cover better
- Choose one primary keyword aligned to your angle
- Note 3 to 6 secondary phrases that fit the same intent
- Write a one-sentence thesis for the post
If intents conflict, split the topic. This guide helps draw the line: on-page versus technical SEO.
Writing the Post: On-Page SEO Basics
Answer the main question early, then prove depth through structure. Write for completion, not word count, so the reader feels finished and confident.

Open with a clear intro that sets expectations. Build sections around real questions, using H2s for main steps and H3s for details, edge cases, or examples. For checklist posts, prioritize scannability with short paragraphs, frequent subheads, and bullets that summarize actions. Put the highest-impact checks near the top.
On-page basics to include:
- One H1 that states the topic clearly
- H2s that follow a workflow or decision sequence
- Short paragraphs, especially near the beginning
- Natural use of the primary keyword and variants
- Descriptive anchor text for internal links
- A wrap-up that tells the reader what to do next
Avoid keyword stuffing, but also avoid vague advice. If you say “optimize headings,” show what good looks like. If you say “add internal links,” specify where and why. For a broader reference when editing fast, use: on-page checklist reference.
Title Tag and Meta Description
Your title tag should match the query language and promise a clear outcome. It’s the biggest lever for click-through rate, and rankings without clicks don’t help. Avoid overpromising, because mismatched expectations can hurt engagement.
Write titles that are specific, not clever. Put the main concept near the start, keep it readable, and don’t repeat the same term excessively. If the post is a checklist, say “checklist.” If it’s for blog posts, say “blog posts.” “SEO Checklist for Blog Posts” is clear, while “Ultimate SEO Guide” is vague.
Meta descriptions often don’t directly improve rankings, but they shape clicks and expectations. Preview the value, note what’s included, and add a light qualifier for who it’s for. Mention the “before publish” angle if that’s your hook. Example: “A publish-ready SEO checklist for blog posts covering intent, on-page, images, links, and schema.”
Images and Media
Images should support the content and load fast on real devices. Media often creates a tradeoff between design and performance, but good preparation gives you both.
Start with purpose. Each image should explain a step, illustrate an example, or break up a long section. Decorative images are fine, but keep them lightweight and don’t use images to replace text that should be searchable.
Useful examples include an annotated screenshot of your outline or a cropped example of a strong title and meta description. Random stock photos usually add weight without adding clarity.
Media checks that matter:
- Compress images before upload
- Keep dimensions consistent for featured and in-content images
- Write alt text that describes the image, not keywords
- Avoid heavy video embeds above the fold
- Check mobile layout for spacing and stability
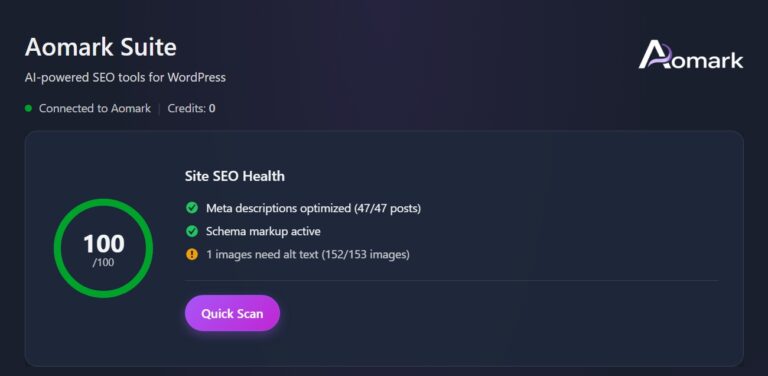
Alt text is for accessibility and understanding. Describe what’s in the image, and only include keywords if they fit naturally. To systematize cleanup at scale, use: rename images and write alt text.
Internal Links
Internal links should guide readers and clarify site structure for search engines. They’re a controllable win when they’re relevant and placed with intent, not sprinkled randomly.
Link first to supporting pages that deepen the topic, then to next-step pages a reader might need after finishing. Each link should answer, “What would I click next?” For a natural next step after publishing a checklist, link to updating older content: update old posts for SEO.
Use anchor text that accurately describes the destination. Avoid “click here,” and don’t reuse the exact same anchor everywhere. Variation is fine if it stays truthful.
Quick internal link pass before publishing:
- Add 2 to 5 links to closely related posts
- Add 1 link to a hub or category page if you have one
- Check for broken links in preview and on the live page
- Keep internal links opening in the same tab
- Make sure linked pages are live and indexable
Too many links can distract, especially early in the post. For WordPress-specific consistency tips, see: WordPress internal linking tips.
Schema and Structured Data
Schema should match the page type and help search engines interpret key elements. It will not fix weak content, but it can improve how your page is understood and displayed in results.
For blog posts, common schema types include Article or BlogPosting. Some sites add FAQ schema when there is a real FAQ section. Breadcrumb schema is often site-wide. The rule is accuracy. Do not mark up content that is not visible on the page.
If you add FAQ schema but the page has no Q and A section, that is a mismatch. If you mark up an Article, ensure the headline, author, and publish date are correct. Template changes can silently break or duplicate markup.
Quick schema checks:
- Confirm the page has one clear article headline
- Make sure author and date fields are accurate
- Avoid duplicate schema types that conflict
- Ensure structured data reflects visible content
If you use a generator, still review the output. A guided process can help: generate schema markup.
After Publishing: Final Checks
Final checks confirm the live page matches your intent, formatting, and technical settings. Draft previews can mislead because scripts, styles, and metadata may behave differently once published.
Start with a live read on mobile. Check the first screen: headline visibility, intro clarity, and any intrusive popups. Scroll quickly to confirm headings look like headings and that lists, tables, and spacing don’t break on small screens.
Quick QA loop:
- Open the page in an incognito window
- Check title tag and meta description in your SEO plugin
- Verify canonical URL, slug, and indexability settings
- Test images for layout shift and slow loading
- Click each internal link once
If multiple pages show the same issues, you may have a template or site-wide problem. Use this deeper checklist for direction: technical SEO audit checklist. After a day, review Search Console signals; low clicks with rising impressions often means the snippet needs work.
Full SEO Checklist Summary
Use this blog post SEO checklist as a fast, repeatable pre-publish routine. Save it in your template or editor notes. The goal is consistency, not perfection.
Before you write:
- Confirm SERP intent and dominant format
- Pick one primary keyword plus a few natural variants
- Outline H2s around real reader questions
- Define the unique value angle in one sentence
While you write:
- Answer the main question in the first few paragraphs
- Use one H1 and a clean H2 to H3 hierarchy
- Add bullets for scannability and action
- Use the primary keyword naturally, not repeatedly
- Include at least one concrete example per major section
Title tag and meta description:
- Match query language, outcome, and audience
- Write a specific title and a complete preview description
- Confirm metadata isn’t overridden by theme or plugins
Images, links, schema, after publishing:
- Compress images, write descriptive alt text, and check mobile layout
- Add relevant internal links with descriptive anchors and test them live
- Add schema that matches visible content and validate key fields
- Review the live page, canonical, indexability, slug, and early clicks.
Conclusion
A consistent seo checklist for blog posts saves you from the small misses that add up. It also gives you a clean baseline. You’ll know your intent, structure, and on-page signals are solid. Then you can focus on the harder part, which is topic choice and distribution.
Use the checklist on your next post and keep notes. For example, track whether titles drive clicks and whether internal links lift impressions. After a few runs, you’ll have your own version that fits your site. And you’ll hit publish with fewer doubts and fewer avoidable errors.