

Schema markup is one of those SEO tasks that feels optional. Until you see a competitor getting rich results on the SERP. Then it suddenly matters. If you’re wondering how to add schema markup in WordPress, you’ve got two solid routes. You can use an SEO or schema WordPress plugin. Or you can add JSON-LD manually for full control.
In this guide, you’ll learn what structured data actually does. You’ll also learn how to choose the right schema types. And you’ll see two practical methods to implement it. We’ll finish with validation steps and fixes for common conflicts. That way, you don’t ship broken markup by accident.
Best for: Site owners who want clearer eligibility for rich results and cleaner entity signals without rebuilding their theme.
Not ideal when: Your theme or SEO plugin already outputs schema, and you can’t control duplicates without developer access.
Good first step if: You can list your key content types and pages, then map each one to a schema type.
Call a pro if: You see persistent structured data errors, nested schema conflicts, or custom post types needing custom schema logic.
Quick Summary
- Schema markup helps search engines interpret your structured content and can enable rich results.
- JSON-LD is usually the easiest format to manage in WordPress themes and editors.
- Start by choosing schema types that match your real page intent, not what looks flashy.
- Plugins are faster for sitewide setup, while manual JSON-LD suits custom pages and edge cases.
- Always test output after changes, especially when multiple plugins or themes add schema.
What Schema Markup is (and What it Does for SEO)
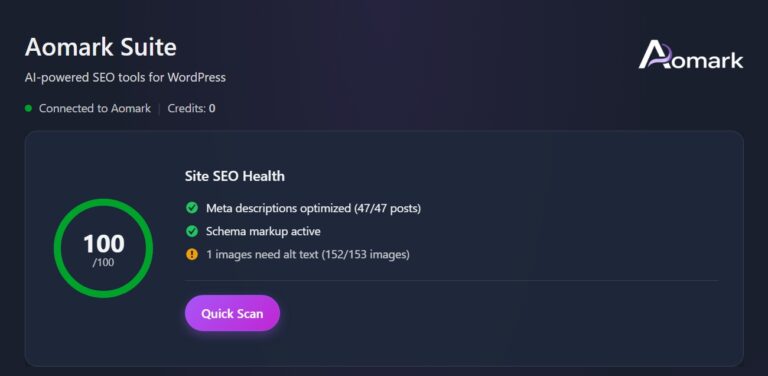
Schema markup is structured data added to pages to help search engines interpret content precisely. It isn’t a direct ranking boost, but it can improve how results are understood and displayed, including rich snippets.
Schema uses schema.org types to label what a page contains, such as Article, Product, or LocalBusiness, and can reinforce key details. Example: Recipe schema can show cook time and ratings in results. LocalBusiness can reinforce consistent NAP and service area.
For SEO, the main benefit is reducing ambiguity and improving classification.
JSON-LD vs Microdata vs RDFa (What to Use in WordPress)
JSON-LD is usually the best choice in WordPress because it’s easy to add and maintain. You can place it in the head or body without rewriting HTML elements. And most SEO plugins output JSON-LD by default.
Microdata and RDFa mix structured data into your HTML tags. That can work. But theme updates can break it. Editors can also strip attributes in some setups.
For example, if you rebuild a page with a block template, Microdata attributes might disappear. JSON-LD usually survives because it’s separate. So, for WordPress, stick with JSON-LD unless you’ve got a reason not to.
Before You Start: Choose the Right Schema Types for Your Site
Pick schema types that match what each page actually is. Wrong types create confusing signals and validation noise.
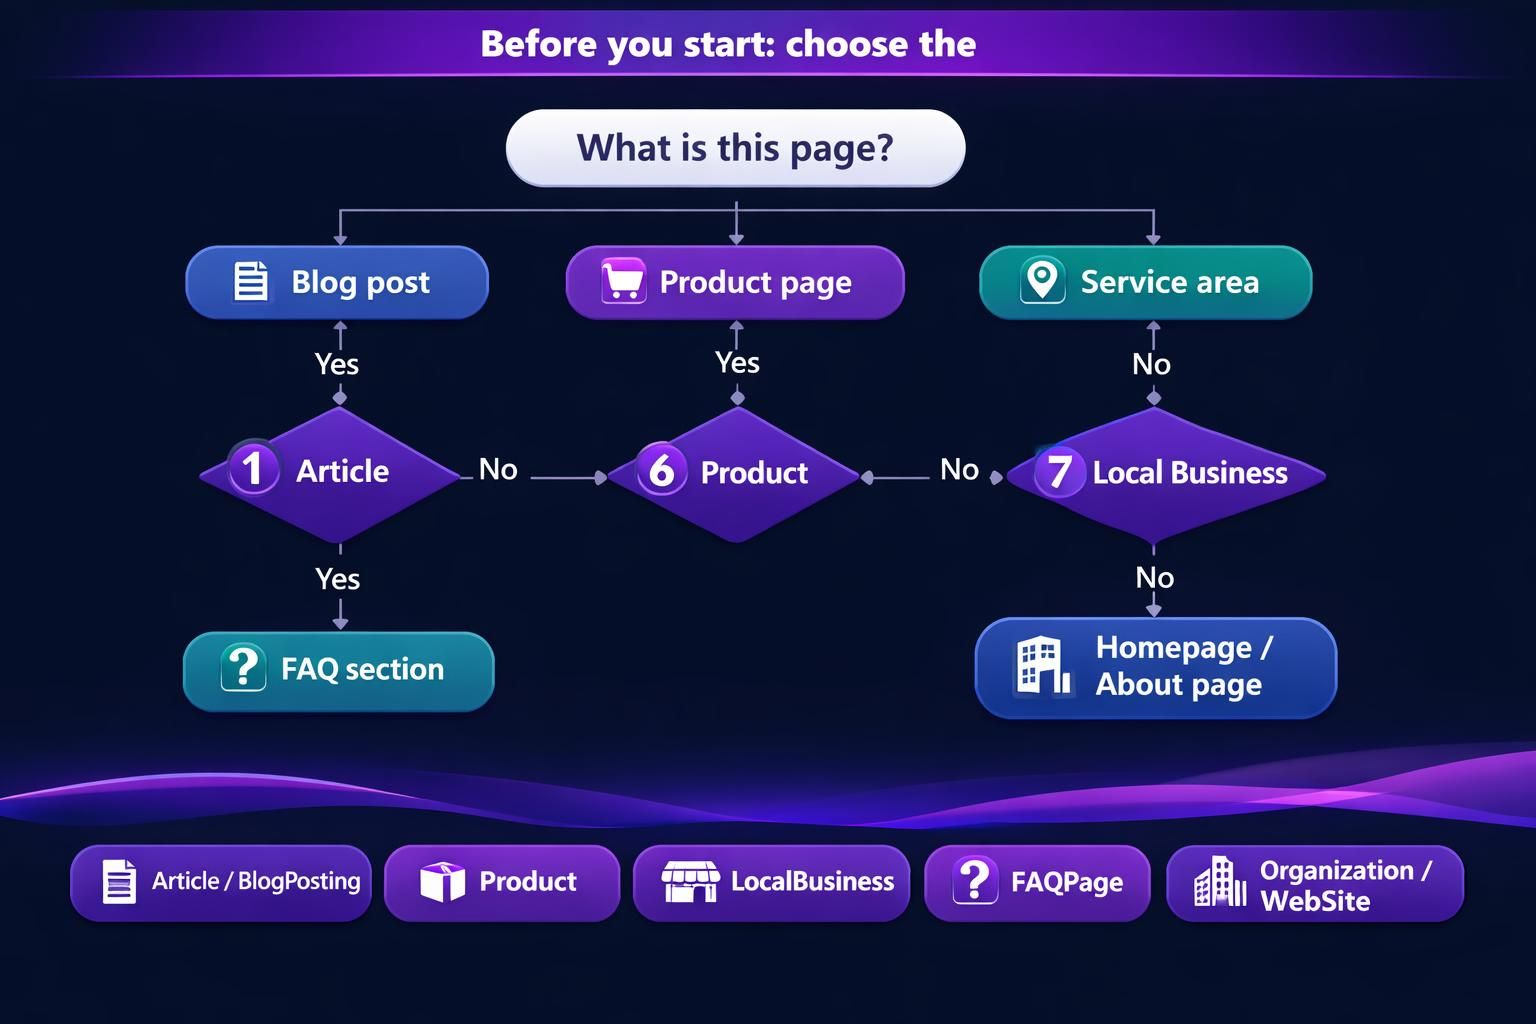
List your main templates: homepage, posts, products, services, and contact pages. Map each to a simple schema type first, then expand later with more properties.
Example: blog posts typically fit Article or BlogPosting. The homepage often fits Organization plus WebSite. Use FAQPage only when FAQs are visible in the rendered content.
Separate sitewide entity schema (your brand) from page-level schema (each URL). That split reduces clutter and prevents duplicates. If you’re using Aomark, compare configuration options in schema settings guide.
Common Schema Types for WordPress Sites (Article, Organization, FAQ, Product, LocalBusiness)
Most sites cover core needs with five types. Article fits posts. Organization fits brand details. FAQPage fits visible Q&A sections. Product fits ecommerce items. LocalBusiness fits locations and service businesses.
Example: a law firm can use LocalBusiness on contact pages and Article on posts. A store uses Product per item and Organization sitewide.
Don’t force Product onto service pages, and don’t use FAQPage for hidden FAQs. Match type to intent.
Method 1 — Add Schema Markup in WordPress With an SEO/schema Plugin
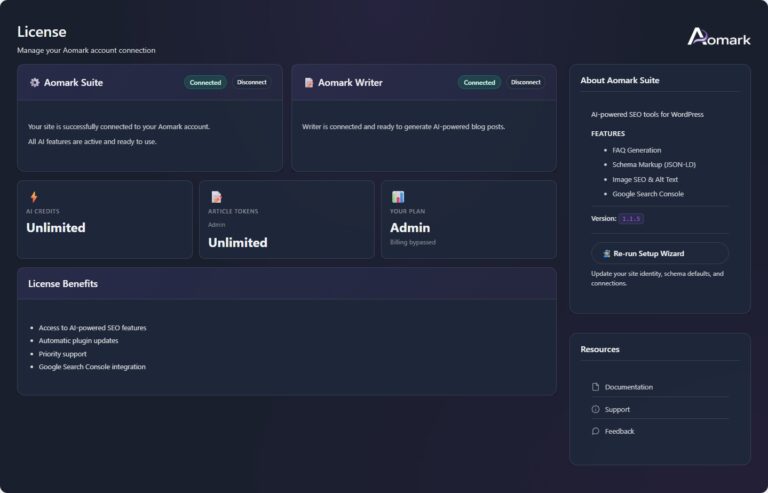
A plugin is the fastest way to add schema across many WordPress URLs. Good plugins output JSON-LD, include required fields, and reduce implementation mistakes.
Install an SEO or schema plugin from Plugins → Add New, activate it, then configure sitewide basics. Set your Organization details once, including logo, brand name, and social profiles if available. Choose default schema for posts, pages, and products, and use per-page overrides when needed. If you’re using an SEO suite, follow its full setup to avoid partial output. See plugin setup steps.
The “best” plugin is the one you can control and that works with your theme.
How to Add Page-level Schema (Per Post/page) vs Sitewide Schema
Sitewide schema should describe your brand and website. Page-level schema should describe each post-level schema or page-level schema item. Mixing those layers makes validation messy.
Most plugins let you set defaults first. Then you override per post in the editor sidebar. Look for schema panels near SEO settings.
For example, you might set all blog posts to Article by default. Then you override one post to FAQPage because it’s a Q&A resource. Or you add Product schema only on product templates. And you keep Organization schema at the site level.
If your plugin supports it, keep overrides minimal. Too many custom settings become hard to maintain later.

Method 2 — Add Schema Markup Manually With JSON-LD (No Plugin)
Manual JSON-LD is best when you need precise control, want fewer plugins, or must support custom post types. It also avoids plugin limitations, but syntax and duplicates matter.
Choose the correct schema type per page, then create a schema.org JSON-LD object using only properties you can keep accurate. Ensure the values match visible page content.
Example: an About page can use Organization with name, logo, and sameAs. A post can use Article with headline, author, and datePublished. Add it as a script tag using type="application/ld+json", placed via a template condition or snippet.
For a guided workflow, generate schema in editor.
Where to Place JSON-LD Safely (Header, Template, or Code Snippet Plugin)
Place schema based on reuse. Put sitewide Organization in the header or a global template. Put page-specific schema in content or a conditional snippet.
A code snippet plugin can inject JSON-LD only on one URL without editing theme files. For post-wide schema, a template hook is cleaner and consistent.
Avoid widgets that strip script tags, and avoid editing header.php without a child theme. After placement, view source, ensure one script, then validate.
Avoid Duplicates and Conflicts (Yoast/Rank Math/theme Schema)
Duplicate schema happens when two tools output the same type on one URL, common with Yoast, Rank Math, and schema-heavy themes. Google may ignore markup or show confusing warnings.
Pick one source of truth. Let either your SEO plugin or your schema plugin handle base types, then disable overlapping modules where possible.
Example: a theme outputs Article on posts and Yoast outputs Article again, creating two JSON-LD blocks. Disable the theme’s schema option, or remove its output with a hook.
Also test AMP and non-AMP pages separately, since AMP can rewrite markup. If Organization signals disappear, check for competing Organization nodes first. To find affected URLs faster, connect Search Console.
Test and Validate Your Schema Markup
Test schema on the rendered live URL, not just plugin settings. View source to confirm your JSON-LD exists and appears only once. Then run a rich results test for feature eligibility and a schema validator for schema.org compliance.
Focus on errors that stop parsing, then warnings for recommended fields. Example: Product may warn about missing aggregateRating, which can be fine, but missing offers is often not. Article may warn about missing image; add a featured image URL if available.
Retest after theme changes, plugin updates, or editor rebuilds.
Google Rich Results Test vs Schema Markup Validator (When to Use Each)
Use Google Rich Results Test when you care about Google’s rich results eligibility. It focuses on supported types and requirements. Use Schema Markup Validator when you want broader schema.org validation. It’s better for custom types and nested graphs.
For example, if you add FAQPage schema, Rich Results Test tells you if the FAQs qualify. If you add Organization plus WebSite nodes with @id references, Schema Markup Validator helps verify the graph structure.
Run both when you’re troubleshooting. One can pass while the other flags issues. That mismatch is common with unsupported schema types. And it’s still useful for entity clarity.
Troubleshooting Common WordPress Schema Issues
Most schema problems come from rendering, caching, or mismatched page content. First confirm the markup exists on the live page, then find what’s injecting it.
Quick checks:
- View source and search for ld+json.
- Ensure only one main node per page (Article, Product, Organization).
- Disable caching/minification, then retest.
- Confirm the editor isn’t stripping script tags.
- Make sure visible content matches schema fields (name, address, FAQs).
If FAQ text loads in tabs or accordions after the initial HTML, Google may treat it as missing. Put FAQs in normal page content, then retest.
Fix required fields first, then add recommended ones if accurate. If a plugin’s output changed, check docs and updates. For unsupported types, add a separate, non-overlapping JSON-LD block.
Conclusion
You can handle schema markup for WordPress in two practical ways. Use a plugin when you want consistent defaults and easier maintenance. Use manual JSON-LD when you need precise control or custom types. Either way, choose schema types that match page intent. Then validate your output and watch for duplicates. If you keep those basics tight, how to add schema markup in WordPress becomes a repeatable process, not a one-off experiment.