Read time: 12-15 minutes What you’ll achieve: A fully optimized WordPress site with automated SEO tasks running in the background and a clear manual workflow for when you need hands-on control.
What You’ll Need Before You Start
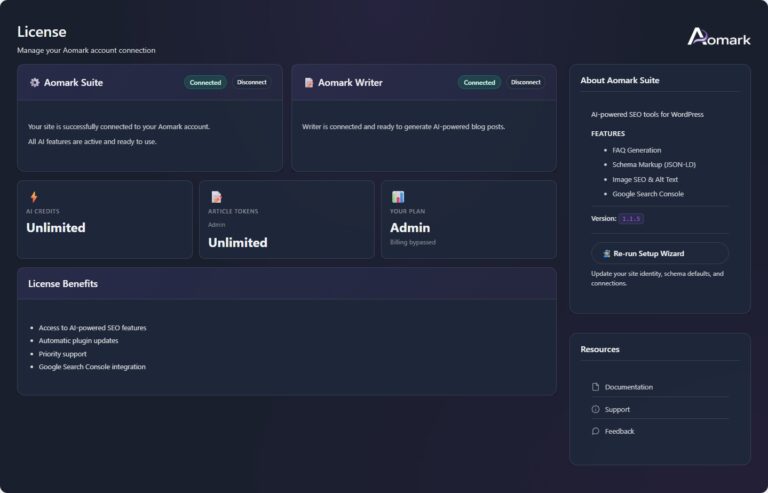
Aomark Suite installed and connected to your WordPress site (see: Complete Aomark Setup Guide)
WordPress admin access
Google Search Console property set up for your site (optional but recommended)
How Suite Works: Two Modes, One Toolkit
Before jumping into the workflow, it helps to understand how Suite is designed to generate meta title and meta description. Every module in Suite can work in one of two ways:
Automated mode means Suite handles things in the background without you lifting a finger. When you publish a post, Suite generates your meta title and description automatically. When you upload an image, Suite renames it and adds alt text instantly. You configure it once in Settings and it runs from that point forward.
Manual mode means you open a module, work through your content at your own pace, and have full control over every output. You review, edit, and save exactly what you want.
Most users run both in parallel. Automation handles the routine so nothing gets missed, and manual mode is there when a page needs extra attention or a custom approach.
The workflow below is split into three phases: one-time setup, existing content cleanup, and the ongoing routine. Follow the Guides in order when setting up Suite on a new site.
Phase 1: One-Time Setup (Do This First)
These steps configure Suite so it starts working automatically from day one. Budget around 15-20 minutes to get through all of them.
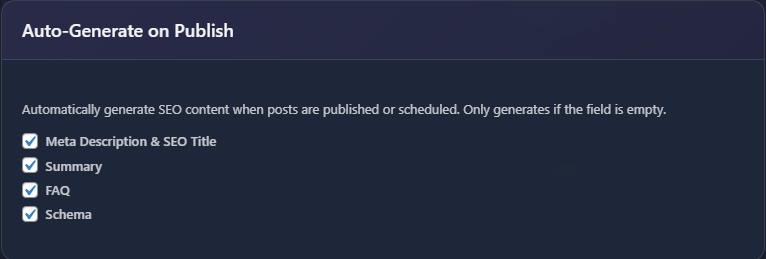
1. Enable Auto-Generate on Publish
This is the most impactful setting in Suite. Head to Suite Settings and find the Auto-Generate on Publish section.
You will see four checkboxes:
Meta Description and SEO Title
Summary
FAQ
Schema
Enable all four. From this point forward, every time you publish or schedule a post, Suite automatically generates these elements if the plugin settings fields are empty. The key detail: it only generates if the field is empty, so it never overwrites anything you have already written manually.
This single setting covers most of your on-page SEO needs for new content without any extra effort.
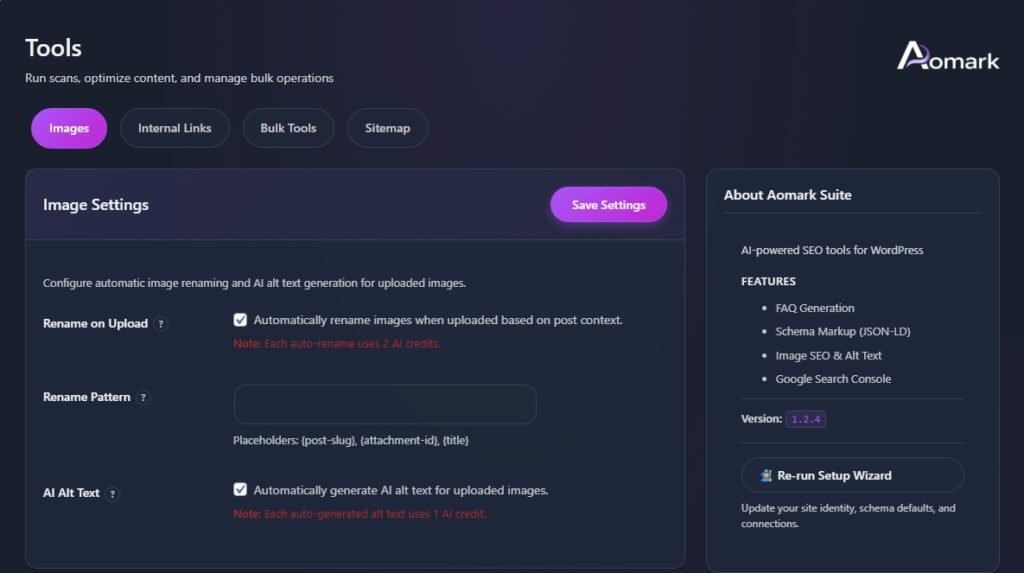
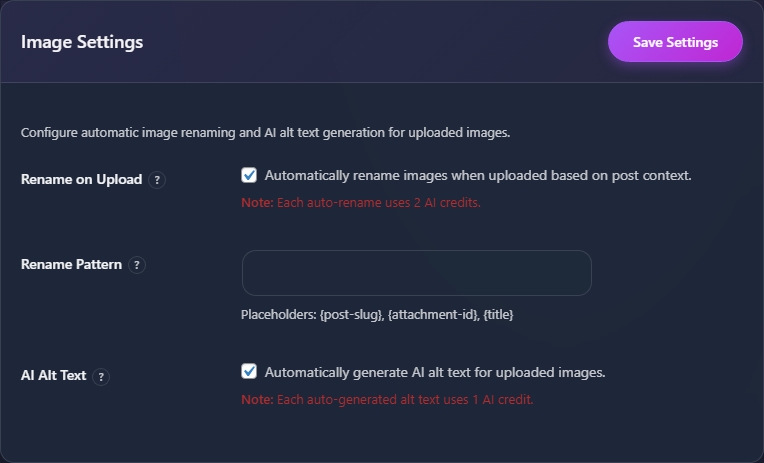
2. Configure Image SEO Settings
Still in Settings, find the Image SEO section and enable both auto options:
Auto-rename on upload renames every image file to something SEO-friendly the moment it lands in your media library. No more IMG_4872.jpg in your URLs.
Auto alt text on upload generates descriptive alt text for every image automatically.
These apply to new uploads going forward. Existing images already in your library are handled separately in Phase 2.
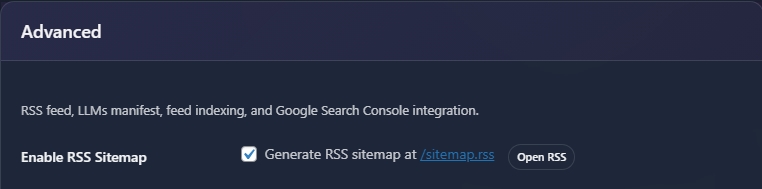
3. Set Up Your XML Sitemap
In the Sitemap tab, set up your sitemap by enabling the XML sitemap if it is not already active. Suite generates and maintains this automatically once enabled. You will also have an RSS feed URL available here, which some tools and GSC workflows use.
Note your sitemap URL. You will need it in the next step.
4. Connect Google Search Console
If you skipped GSC during initial setup, connect it now. Find the GSC module in Suite and click Connect to go through the Google authorization flow.
Once connected, submit your XML sitemap URL directly from this module. GSC will pick it up and start crawling your pages right away.
💡 Note: GSC is optional for most Suite features. The one thing that requires it is direct sitemap submission from the plugin. Everything else works without it.
Phase 2: Clean Up Existing Content
If you are adding Suite to a site that already has content published, the Bulk Tools tab is where you bring everything up to standard in one pass. This is a one-time process per site.
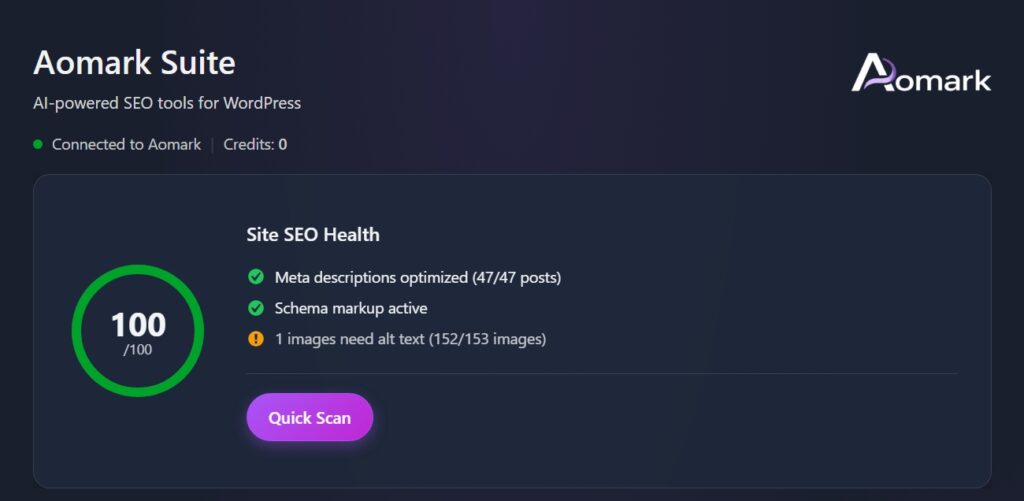
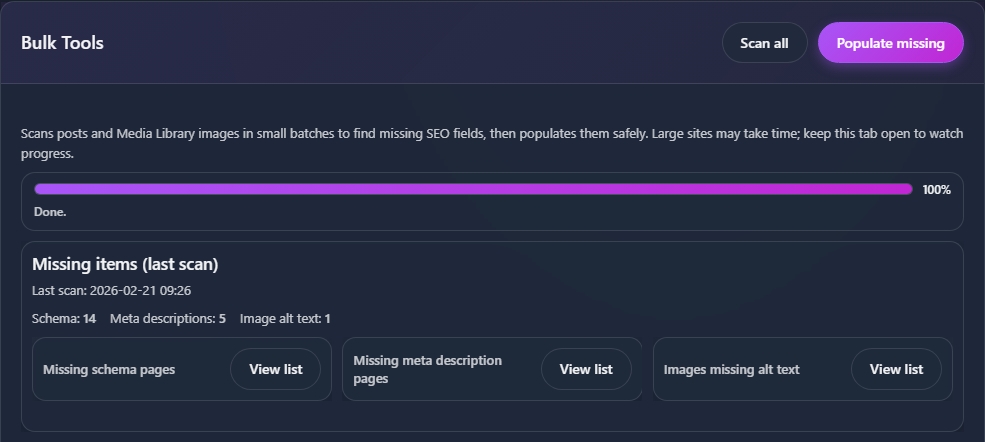
Run a Scan First
Open the Bulk Tools tab and hit Scan All to let Suite audit your entire site.
After the scan, you will see exactly what is missing across three categories: missing schema pages, missing meta description pages, and images missing alt text. Click View List on any category to see exactly which pages or images are affected.
This gives you a clear picture of the work before running anything.
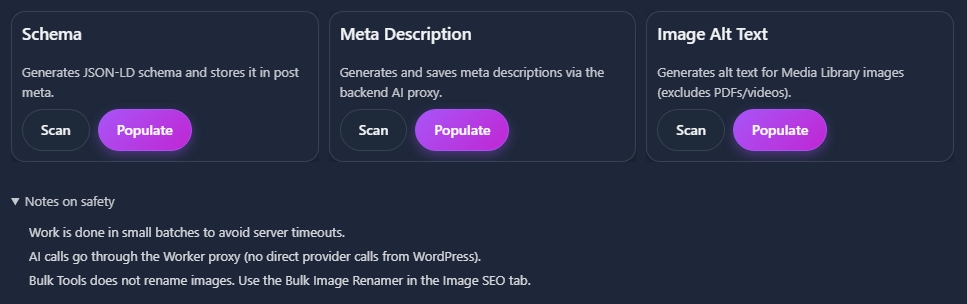
Populate Missing Fields
Once you have reviewed the scan results, hit Populate Missing. Suite generates and saves the missing fields across your entire site in small batches to avoid overloading your server.
For more control, use the individual Scan and Populate buttons for Schema, Meta Description, and Image Alt Text separately at the bottom of the panel.
Large sites may take a few minutes. Keep the tab open while it runs.
Overwrite All (Use With Caution)
Below the main scan panel you will notice an Overwrite All option. This regenerates Schema, Meta Descriptions, and Image Alt Text across your entire site, even for fields that already have content.
Use this only if you want to fully refresh all generated SEO content, for example if your site has a lot of old, thin meta descriptions you want to replace wholesale. It requires a confirmation click before running. For most sites, Populate Missing is the right choice since it skips anything you have already written manually.
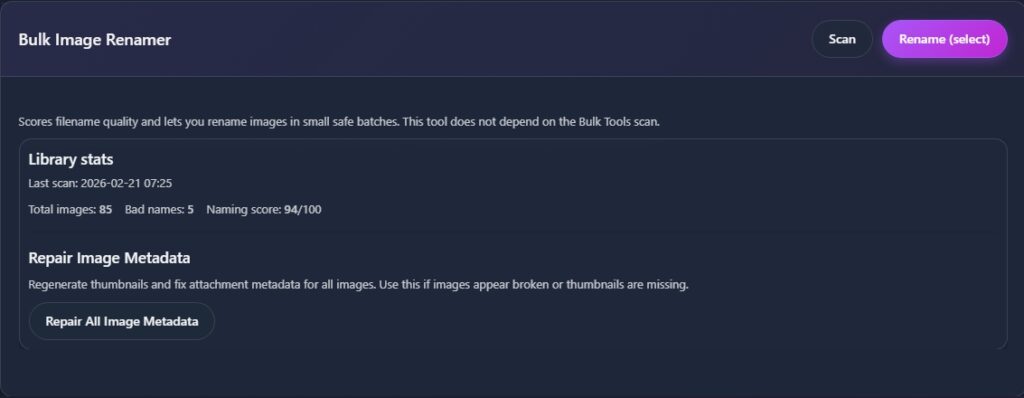
Bulk Image Rename
Image file renaming runs separately from the alt text bulk tool. Open the Images tab to run the Bulk Image Renamer across your existing media library.
This brings your existing image filenames in line with the auto-rename setting you enabled in Phase 1, so new and old images are fully consistent.
Phase 3: The Ongoing Routine
With setup done and bulk tools having cleaned existing content, Suite runs mostly on autopilot. Here is what the regular routine looks like.
Every Time You Publish New Content
Auto-Generate on Publish handles meta titles and descriptions, summary, FAQ, and schema automatically the moment you hit publish. Nothing extra to do.
After publishing, do a quick review on important posts: open the post and check the generated meta title and description. AI-generated metas are a strong starting point, but pages with specific conversion goals or branded messaging are worth a 30-second manual check to make sure the angle is right.
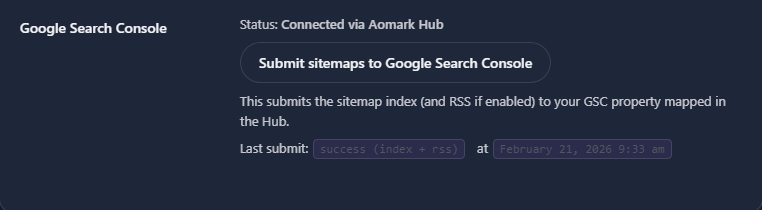
Every Time You Publish: Submit to GSC
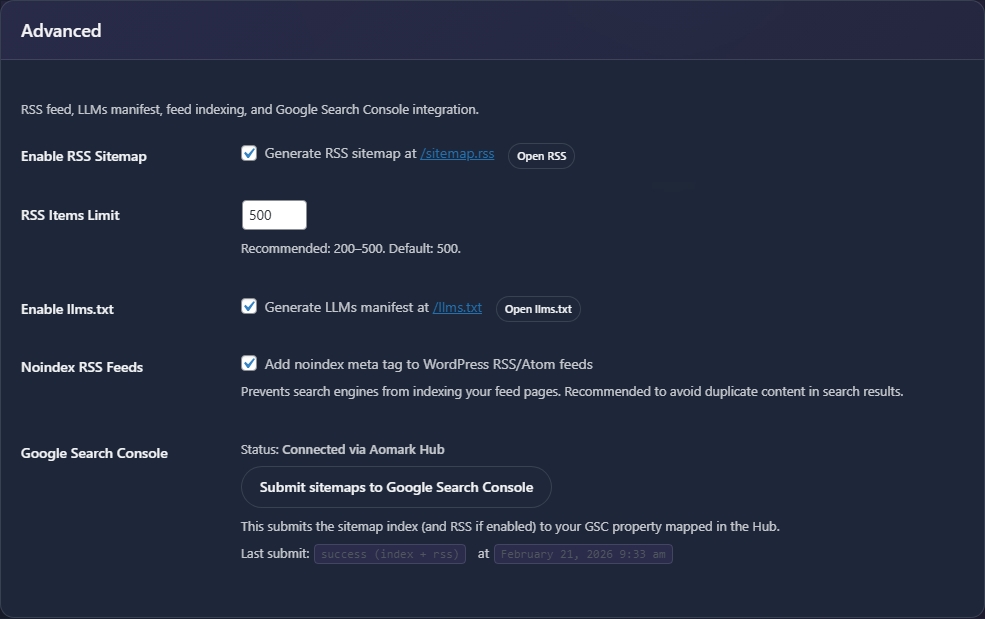
After publishing a new post or page, head to Suite Settings and find the Advanced section. Hit Submit sitemaps to Google Search Console by Connecting Google Search Console to push your updated sitemap index (and RSS feed if enabled) directly to your connected GSC property.
This submits your full sitemap rather than individual URLs, so Google gets a fresh signal about all your recent content in one action. The Last submit line confirms exactly when it last ran and whether it succeeded, so you always know the status at a glance.
Every Time You Upload Images
Nothing to do here. Auto-rename and auto alt text handle it the moment the file lands in your media library. If you ever want to review or adjust the alt text on a specific image, open the Images tab and edit it directly.
Monthly: Run a Fresh Bulk Scan
Once a month, open the Bulk Tools tab and hit Scan All again. This shows you if anything has slipped through: newly published pages that missed auto-generation, or pages where content changed significantly and the meta is now outdated.
Focus your manual review on your most important pages: homepage, service or product pages, and your top-performing blog posts. If a page has been updated substantially, regenerate its meta to match the new angle. A meta that no longer reflects the page content hurts click-through rates even when rankings are solid.
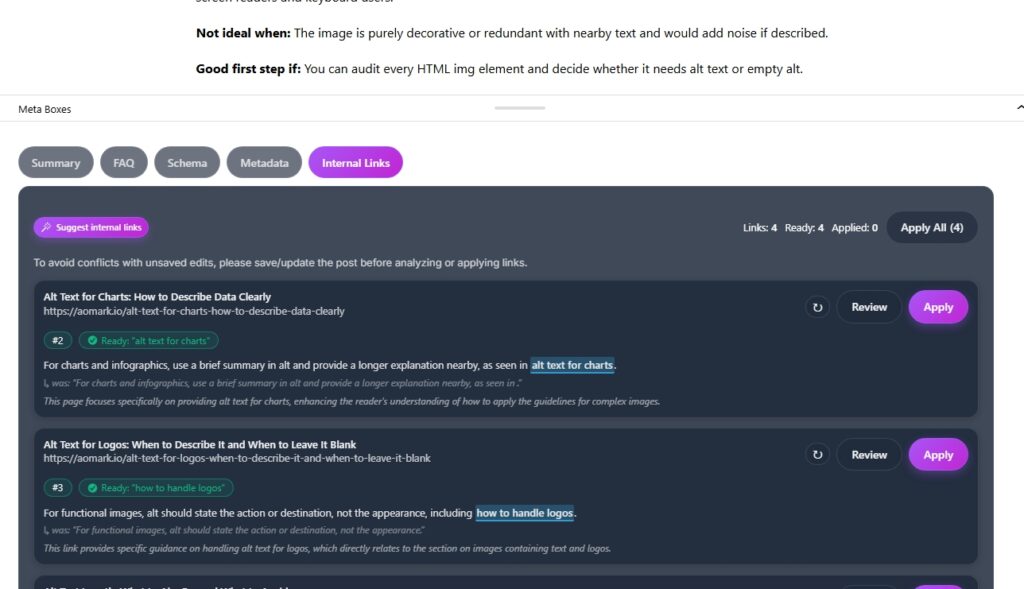
When You Want to Build Internal Links
The Internal Links tab is where you manage site-wide linking. The module is AI-powered but works manually, meaning you stay in control of which suggestions to apply.
This is worth revisiting whenever you publish a cluster of related posts, or when you want to direct link equity toward a specific page you are trying to rank.
The Full Workflow at a Glance
One-time setup Enable Auto-Generate on Publish for all four fields and configure automatic image renaming and alt text in Settings. Set up your XML sitemap and connect GSC.
Existing site cleanup Run Scan All in Bulk Tools, review missing items, then run Populate Missing. Bulk rename existing images in the Images tab.
Every time you publish Auto-generation runs automatically. Do a quick meta review on important posts. Submit the new URL to GSC manually.
Every time you upload Auto-rename and auto alt text run instantly. No action needed.
Monthly Run a fresh Bulk Tools scan to catch anything missing. Review metas on key pages and update where content has changed.
What’s Next
Now that Suite is fully configured and running, the next step is putting Writer to work alongside it for a complete SEO and content production setup.
For the full AI content production workflow from keyword research to published article, see: AI Content Production Workflow (Guide 3)
For detailed instructions on any individual Suite module, check out the Suite Tutorials series
For building out your internal linking strategy in depth, see: Internal Linking Strategy with Aomark (Guide 4)